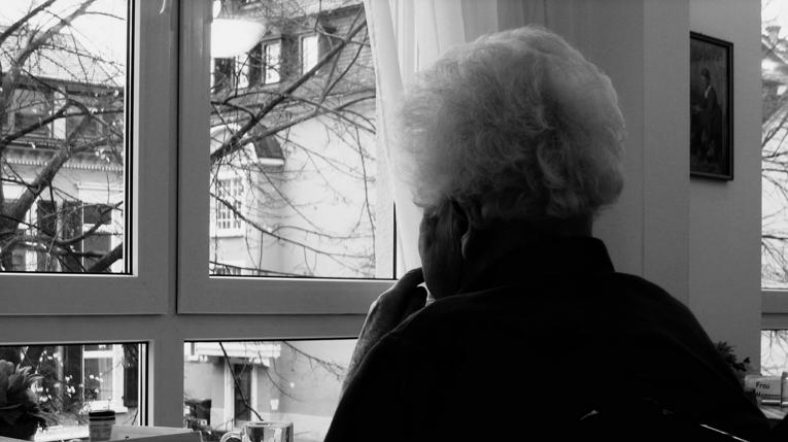
Senior citizens are some of the most vulnerable people in today’s modern society. It is devastating when I see reports of their abuse in the news and on social media. However, it is even more unbearable and disturbing when it happens to a loved one who might be forced into a situation where they are neglected and mistreated by a staff with no conscience.
It seems to happen all too frequently that these workers are hired without going through the proper screening process that would keep them from interacting with our family and friends. However, there is technology available to help get the evidence needed to catch and put a stop to this type of abuse. This is why I am writing this article about the best spy camera for nursing home centers.
With the proper video evidence, the nursing home and company can be sued since they are legally responsible for the patient who is under their care. So, while one can never truly nullify the effects of mental and physical trauma, there can be some types of reimbursement available through the filing of a personal injury or medical malpractice lawsuit.
Best Hidden Cameras for Nursing Homes
These are my top picks for hidden spy cameras that can help you in a nursing home setting. Also see the full article below for many more alternatives.
A quick note: As an Amazon Associate I earn from qualifying purchases. This post contains affiliate link(s). An affiliate link means I may earn advertising or referral fees if you make a purchase through my link, at no extra cost to you.

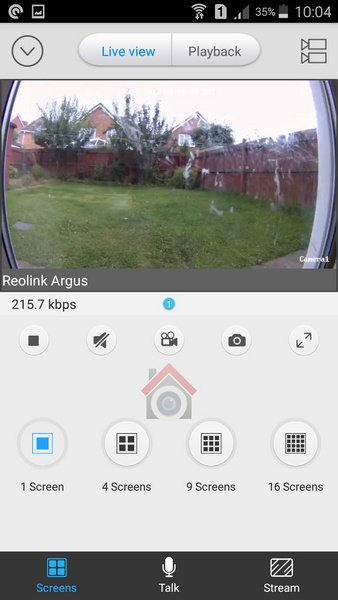
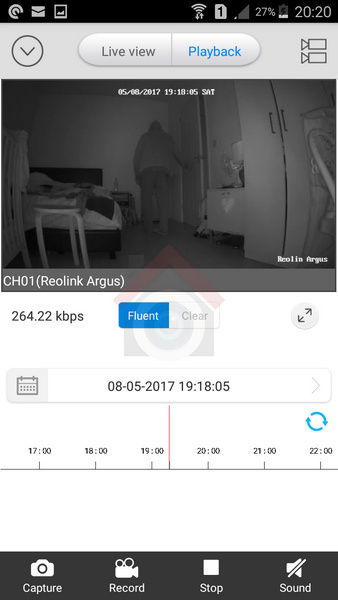
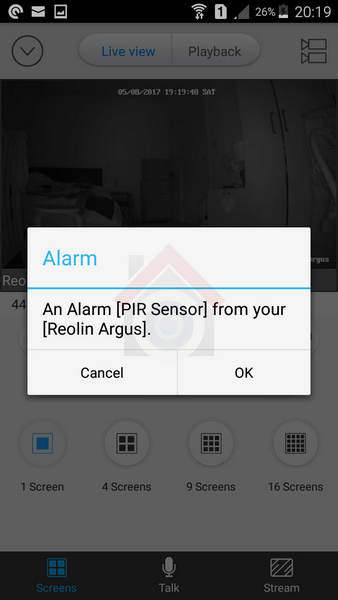
Choosing the right Hidden camera for Nursing Homes
Knowing how to prove abuse is essential, and so let us take a look at the best spy cameras which can help to covertly get that nursing home abuse caught on camera. I have included a mini-review of each of these as they are each a best hidden camera for care home evidence gathering.
It is estimated that 1 in 6 of the elderly population have experienced some type of abuse with the percent of what is actually reported to authorities being around a mere 7% of the actual occurrences. Protect your loved one by choosing a quality product with long battery life and audio capabilities.
Here are my picks for the best on the market right now.
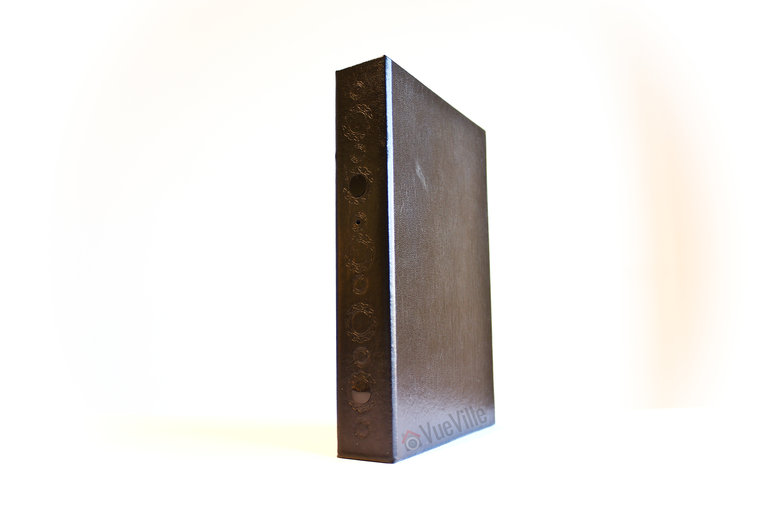
Hidden Camera Picture Frame
[easyazon_image align=”center” height=”500″ identifier=”B0B678PFZ6″ locale=”US” src=”https://m.media-amazon.com/images/I/41aginYdXsL._SL500_.jpg” tag=”vueville.com-eaz-spynurshom-20″ width=”500″]
Click image to view on Amazon
- 1080p resolution
- Night vision
- Motion detection
- Microphone
- SD card up to 128 GB
- Loop recording
- Built-in rechargeable battery
[easyazon_link identifier=”B0B678PFZ6″ locale=”US” tag=”vueville.com-eaz-spynurshom-20″]Check Price on Amazon[/easyazon_link]
This is a photo frame hidden spy camera which has a camera lens that is so covertly placed that it may never be found even if you are looking for it and know that it is there. It has a myriad of features to cover every nursing home need to help catch abuse. The resolution of the camera is 1920*1080P (Full HD) at 30fps.
The SD card is not included with the spy frame, but it needs one which is a class 10 micro SD card up to 128 GB capacity for recording all of that video footage. The built-in battery has a super capacity which is good for 4 hours usage.
The downsides are that this camera’s video cannot be viewed in real time on a mobile app. Also this camera does not record audio in compliance with federal law.
Wi-Fi Alarm Clock Spy Camera
[easyazon_image align=”center” height=”500″ identifier=”B07GLTW936″ locale=”US” src=”https://m.media-amazon.com/images/I/41WEyor70WL._SL500_.jpg” tag=”vueville.com-eaz-spynurshom-20″ width=”500″]
Click image to view on Amazon
- 1080p resolution
- Night vision
- PIR sensor
- SD card up to 32GB
- Loop recording
- Max 8 hours operation time
[easyazon_link identifier=”B07GLTW936″ locale=”US” tag=”vueville.com-eaz-spynurshom-20″]Check Price on Amazon[/easyazon_link]
This is a great spy camera which doubles as an alarm clock so that it is not recognizable as anything other than an appliance to tell the time. It has a host of great features such as motion detection, a remote control, and others listed below. Unusually it has a PIR motion sensor that is more reliable for motion triggered recording. Unfortunately it doesn’t have a microphone, but this is required for compliance with federal law.
Spy Pen Camera
[easyazon_image align=”center” height=”500″ identifier=”B0B9G2FTX1″ locale=”US” src=”https://m.media-amazon.com/images/I/411jQiqf8eL._SL500_.jpg” tag=”vueville.com-eaz-spynurshom-20″ width=”500″]
Click image to view on Amazon
- 1080p resolution
- Microphone
- 32GB SD card included
- Motion detection & Loop recording
- Records audio
- Max 3 hours operation time
- 350 mAh battery capacity
[easyazon_link identifier=”B0B9G2FTX1″ locale=”US” tag=”vueville.com-eaz-spynurshom-20″]Check Price on Amazon[/easyazon_link]
This is a spy pen with a hidden camera that makes for a perfect portable device that you can use to capture abuse and neglect of your loved ones wherever they are. It is very affordable and a solid investment towards ending mistreatment. Its not a Wi-Fi camera and so you don’t need a Wi-Fi connection to use it.
Not being tethered to a power point has a huge advantage – the user can dynamically position it to capture the best angle or view of an abusive situation without giving away the presence of the spy camera. It can also be clipped into a front pocket or lapel to record situations away from the user’s room.
Wi-Fi USB Charger Hub Spy Camera
[easyazon_image align=”center” height=”500″ identifier=”B09PBKZM9W” locale=”US” src=”https://m.media-amazon.com/images/I/41zuVDXPa7L._SL500_.jpg” tag=”vueville.com-eaz-spynurshom-20″ width=”500″]
Click image to view on Amazon
- 1080p resolution
- Up to 128 GB SD card supported
- Loop recording
- Motion detection
- Wi-Fi enables live-stream to mobile anywhere in the world
- 5-port USB Hub that can actually charge phones
- No microphone
[easyazon_link identifier=”B06XGWYXZQ” locale=”US” tag=”vueville.com-eaz-spynurshom-20″]Check Price on Amazon[/easyazon_link]
This is a great USB charger hub which holds the perfect hidden functionality that you need in order to gather evidence of nursing home abuse. You will be able to catch abuse on camera with motion detection and auto-loop recording to keep the latest and most relevant footage on hand.
Since it has Wi-Fi, you can use the mobile app to drop in virtually any time to check on your loved ones. Audio recording is not possible in compliance with federal law. There are no Infrared LEDs for night vision and there is no battery backup in case of mains power failure.
Hidden Camera USB Charger
[easyazon_image align=”center” height=”425″ identifier=”B09KYJDNG7″ locale=”US” src=”https://m.media-amazon.com/images/I/41HFhzawkwL._SL500_.jpg” tag=”vueville.com-eaz-spynurshom-20″ width=”500″]
Click image to view on Amazon
- 1080p resolution
- 32 GB SD Card included
- AC powered
- Loop recording
- Motion detection
- Live-stream to mobile
[easyazon_link identifier=”B09KYJDNG7″ locale=”US” tag=”vueville.com-eaz-spynurshom-20″]Check Price on Amazon[/easyazon_link]
This camera uses a novel packaging method to disguise it as a power adapter. Since it can draw power form the AC socket, you are no longer constrained by battery life. On the flipside, you cannot always control the location of the camera due to it being dependent on a power socket!
So if you don’t need Wi-Fi, this is a good choice. As this camera is mains powered, you can view a live-stream on your mobile phone at any time without worrying about its battery running out. But on the other hand this means the camera won’t work if there is a mains power failure. Note that there is no audio recording in line with federal law.
Hidden Camera Smart Watch
[easyazon_image align=”center” height=”500″ identifier=”B09XFB7MCY” locale=”US” src=”https://m.media-amazon.com/images/I/41KZFO4vK1L._SL500_.jpg” tag=”vueville.com-eaz-spynurshom-20″ width=”500″]
Click image to view on Amazon
- 1080p Full HD resolution
- 64 GB SD card included
- Loop recording
- Photo capture
- 3 hours recording time
- Records audio
[easyazon_link identifier=”B09XFB7MCY” locale=”US” tag=”vueville.com-eaz-spynurshom-20″]Check Price on Amazon[/easyazon_link]
This is an excellent looking watch that you would probably wear even if it did not come with the discreet spy camera functionality. It is in a league of its own as one of the best discreet hidden camera for nursing home abuse prevention – especially when there are no ideal power points to plug in a powered spy camera.
This hidden camera is unique in that it looks just like a normal smart watch but holds the spy camera functionality necessary to monitor nursing home and care facility areas. This is a great entry-level hidden camera that can record up to 3 hours continuously.
Classic Watch Spy Camera
[easyazon_image align=”center” height=”500″ identifier=”B093C1Y1SC” locale=”US” src=”https://m.media-amazon.com/images/I/514JfnSy3hL._SL500_.jpg” tag=”vueville.com-eaz-spynurshom-20″ width=”500″]
Click image to view on Amazon
- 1080p resolution
- Records audio
- Built-in 32 GB memory
- Night vision
- 1.5 hours of recording time when using battery, unlimited when charging/plugged into outlet
- 400 mAh battery capacity
[easyazon_link identifier=”B093C1Y1SC” locale=”US” tag=”vueville.com-eaz-spynurshom-20″]Check Price on Amazon[/easyazon_link]
Sometimes you need something that not just works well as a spy camera but also needs to match the person wearing it. For an older person in a nursing home, this spy camera classic watch is a natural fit and will not arouse any suspicion at all.
Wi-Fi Wall Clock Hidden Camera
[easyazon_image align=”center” height=”500″ identifier=”B07H23TVY7″ locale=”US” src=”https://m.media-amazon.com/images/I/41okSq+Mp6L._SL500_.jpg” tag=”vueville.com-eaz-spynurshom-20″ width=”500″]
Click image to view on Amazon
- 1080p resolution
- Microphone
- SD card up to 32GB
- Loop recording
- 3-5 hours of recording time when using battery, unlimited when charging/plugged into outlet
- 5000 mAh battery capacity
[easyazon_link identifier=”B07H23TVY7″ locale=”US” tag=”vueville.com-eaz-spynurshom-20″]Check Price on Amazon[/easyazon_link]
This is an excellent hidden camera in the form of a bog-standard wall clock which can be easily hung on the wall of a room or living area in order to capture everything that goes on in the room. You can charge the battery while using the camera. In fact it is recommended to connect the clock full-time to a USB power adaptor, and then rely on the built-in large capacity battery as a backup in case mains power fails.
Conclusion
So there you have it, these are my recommendations for the best hidden spy cameras for nursing homes and care homes in 2023. It is important that all instances of nursing home abuse be recorded and investigated in order to protect those who are the most vulnerable in our society. Any of the great spy cameras detailed on this list should be a perfect tool to help accomplish that goal. With one of these you will be able to have the peace of mind to know that all is alright with your loved one even when you are not available to be there for them. Leave your thoughts below!


 [/wpsm_tab]
 [/wpsm_tab]
 [/wpsm_tab]