While I have owned and reviewed quite a few outdoor IP cameras and pan-tilt indoor cameras regular readers will note that my DIY CCTV system does not include a Pan-Tilt-Zoom (PTZ) camera. I have even got a few emails asking me why I don’t write much about PTZ cameras. This was not deliberate, I just didn’t feel the need for one in my current setup.
But you know me, I am always trying to write about what my readers want. So when Reolink asked me which one if their latest IP cameras I would like to review, I jumped on the chance to review their highly acclaimed PTZ model, the Reolink RLC-423.
What’s in the box
So not long afterwards, the postman showed up with this review unit kindly provided by Reolink:
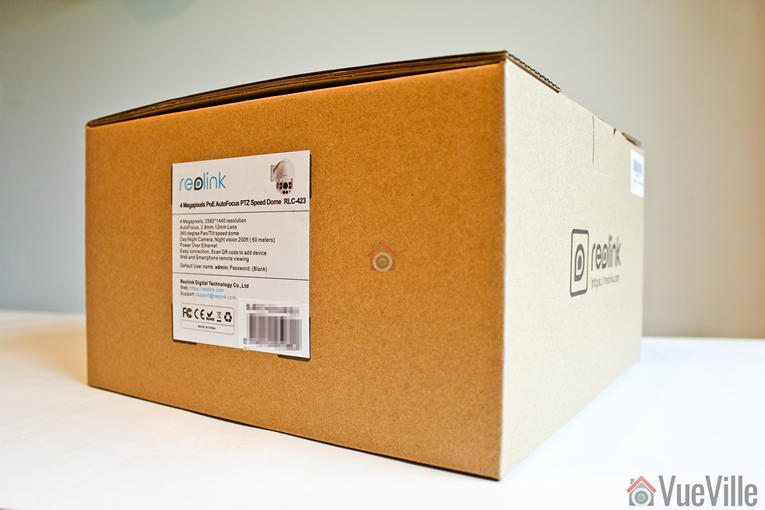
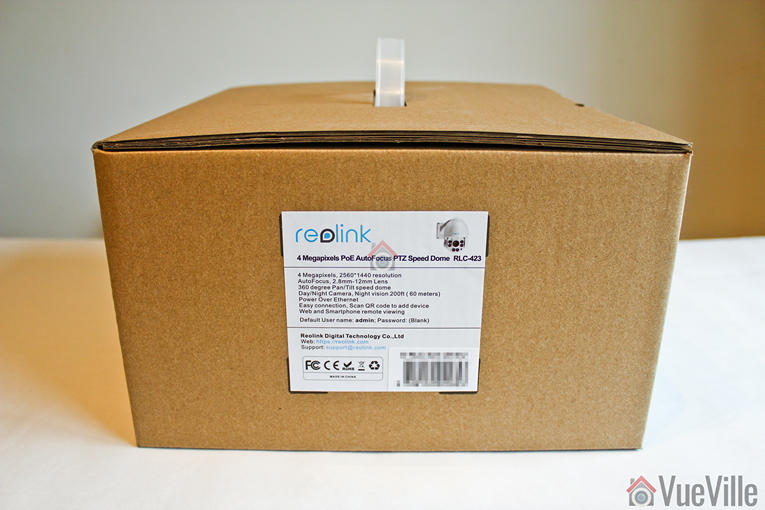
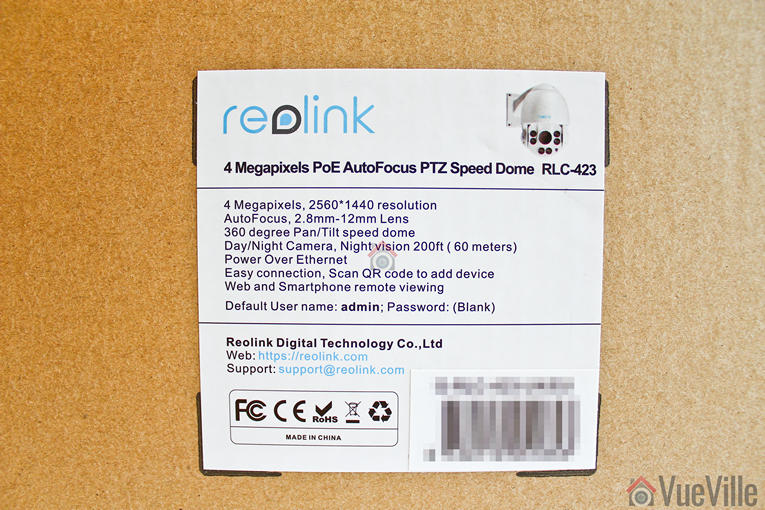
Opening the box, I found a well-protected foam-padded RLC-423 PTZ camera and an assortment of accessories.

A list of the box contents:
- RLC-423 IP camera
- Waterproof sleeve for ethernet cable
- 1 metre network cable
- Screws and rawl plugs
- Software CD
- Quick start guide
- Surveillance sign
- Mounting hole template
- Power adaptor
Specifications
| Image Sensor | 1/3" 4 Megapixel Progressive Scan CMOS |
| Minimum illumination | Color: 0. 05 lux @ f1.4, B&W: 0 lux (with IR on) |
| IR LED Range | Up to 60 metres |
| Lens type | Motorized/Auto Iris (DC) |
| Focal length | f=2.8~12mm motorized |
| Angle of view | 36°~100° |
| Bit rate | H.264/M-JPEG, 1024Kbps - 8192Kbps |
| WDR | Digital WDR |
| Ethernet | RJ-45 (10/100Base-T) |
| Wi-Fi | None |
| Standards | ONVIF v2.1, PSIA, CGI, ISAPI |
| Protocols | TCP/IP, HTTP, HTTPS, uPNP, RTSP, SMTP, NTP, DHCP, DNS, FTP, ONVIF, URL, P2P |
| Storage | None |
| Other Connections | MIC input |
| Power supply | DC12V or PoE (802.3at) |
| Power consumption | 22W |
| Main stream | 4MP(2560*1440)/3MP(2048*1536)/1080P(1920*1080) |
| Sub stream | 640*360 |
| Audio support | Yes, 1x RCA Audio Input |
| Dimensions | Φ136*201mm |
| Weight | 1.74 kg |
| Weather-proofing | IP66 |
| Working environment | -10 ℃~+55 ℃ (14°F~131°F), 10%~90% humidity |
Design
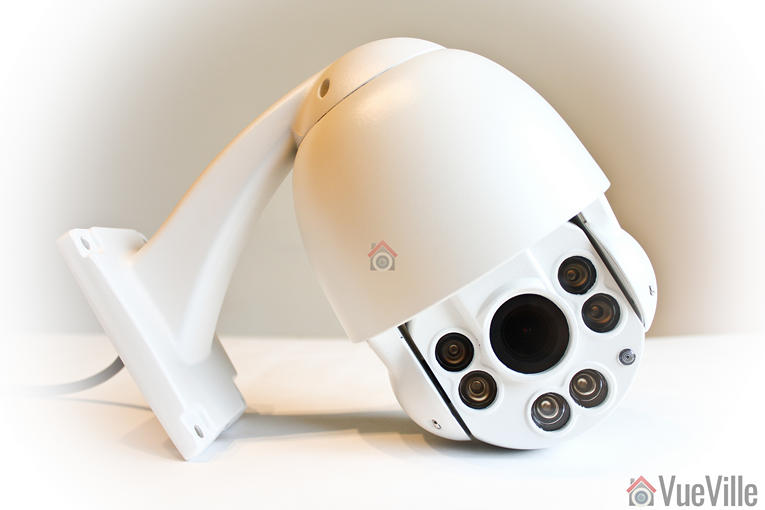
If you are used to modern IP cameras, the size of the RLC-423 will come as a surprise. Fixed lens cameras like the Hikvision DC-2CD2042WD-I or Reolink’s own RLC-410 are very compact as there are hardly any moving parts. But when you have a motorized lens and 6 high power LEDs, you need a larger housing for all the electronics.
The camera’s body is fully metallic and feels very solid, not to mention quite hefty. This is a well-built product and the matte finish screams quality. This is not your typical run-of-the-mill Chinese IP camera.
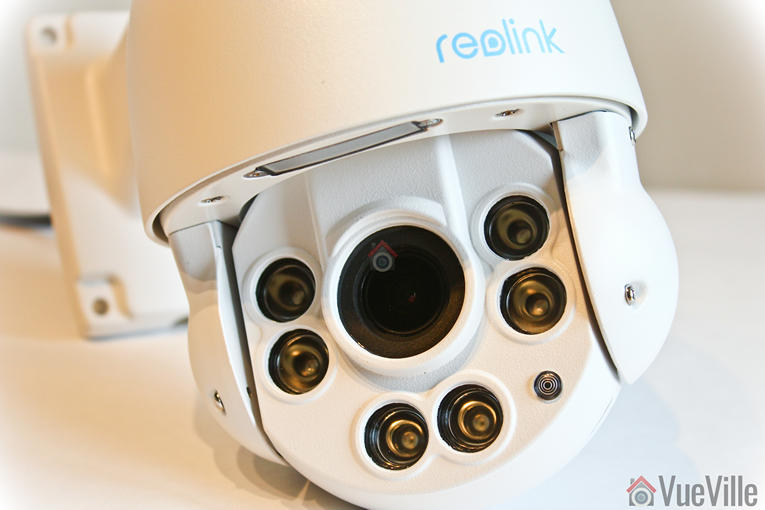
The front of the camera has a rather large lens, six InfraRed LEDs and the day/night sensor.

The rear of the camera body has fins to aid heat dissipation.
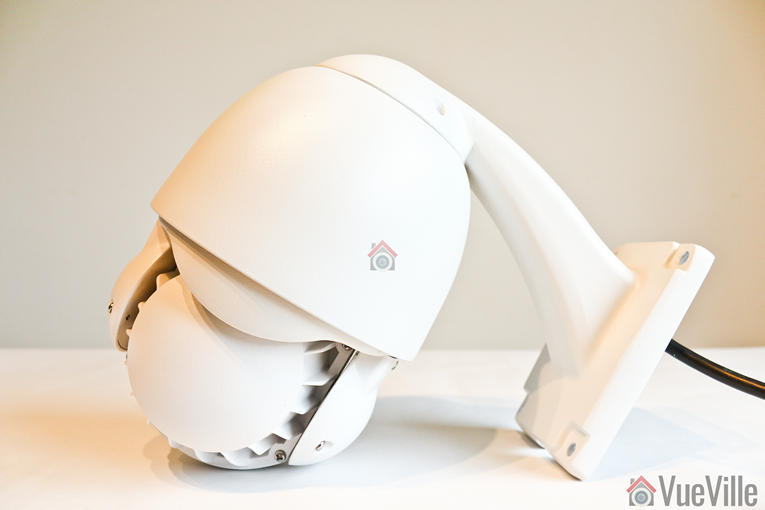
All the cabling comes out of the holder arm and can conveniently go into a junction box or down the wall through a cut-away provided for this purpose. The cabling consists of a pigtail with the following connectors:
- 12V power input jack
- RJ-45 ethernet port
- RCA audio in
- A reset push button

I especially like the reset button not being on the main body of the camera. Apart from eliminating an ingress point, it means nobody can reset the camera unless they get to the hidden reset button! This is much better than many other cameras such as Hikvision’s which have the reset button externally on the camera body itself.
What’s missing though? An SD card is the most obvious omission and is quite a useful feature to see in an IP camera.
Installation
I was able to get the RLC-423 installed, up and running in 5 minutes. The camera comes with almost everything you would need to install the camera – rawl plugs and screws.

Hardware setup
The RLC-423 supports Power over Ethernet (PoE) which is my recommended way of powering IP cameras – you can use a single Ethernet cable to send both data and power to the camera using either a PoE switch or a PoE injector.
Since the camera uses high powered IR LEDs and has PTZ motors to power, it needs a lot more than the 7W or so a fixed lens camera needs – around 22W to be exact. So the PoE standard the camera supports is 802.3at. Reolink has thrown in a power adaptor that you can use to power up the camera and you may be thinking already ‘can I use that to inject power also’.
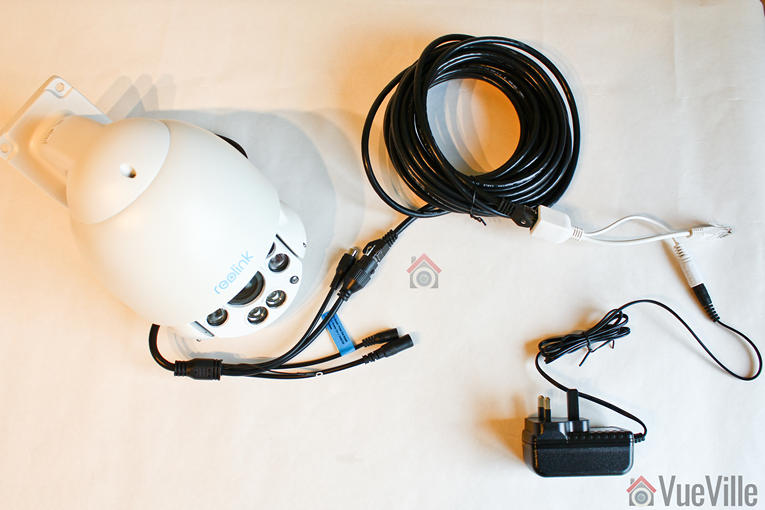
Yes, but hold your horses! My PoE switch is of the 802.3af variant so it didn’t have enough juice to power the camera. I had a PoE injector lying around and with the included power adaptor, PoE injection seemed to be the way to go. But what I quickly found out was that the 1.5 A power adaptor could power the camera only over cables of up to 30 feet length. When I tried using longer cables, the current drop over the cable run meant that the camera didn’t get the 22W it needed and couldn’t work properly when the IR LEDs also turned on. So either use a 802.3at PoE switch or a higher power PoE injector over a long Ethernet cable run.
If you want to use the included waterproofing connector, you will have to remove the RJ-45 plug on the ethernet cable and re-crimp it once it has been passed through the waterproofing connector.
Software setup
Most manufacturers prefer to use static IPs by default for their cameras. In most cases the camera will not have the same network settings (like sub-domain) as your network. This means that you cannot access the camera unless you change the camera network settings to that of your network. This is achieved by using the manufacturer’s camera finder tool. While this static IP method has security benefits, for most home users it would be easier if the camera manufacturer used DHCP as default. Then the camera would automatically be configured to use your network settings and be ready to use.
And this is exactly what Reolink has done. I was pleasantly surprised to see that the camera used DHCP by default.
When you are setting up a camera using DHCP, you normally wont know what its IP address is and so will have no way of directly accessing the camera. If you have IP reservation set up on your router, yes then you may know. But let’s assume you don’t know the IP address.
Remember this camera supports ONVIF. So to start using the camera you just need to find the IP address of the camera and there are quite a few ways you can do this:
- Use the Reolink mobile app
- Use the Reolink desktop client software
- Use any camera monitoring software such as BlueIris
- Use a mobile security camera app such as tinyCam Monitor Pro
- Scan your network using a network scanner app
The included quick start booklet explains the first two methods. So to test the user friendliness of the instructions, I followed the instructions to use the Reolink client app to set up the RLC-423. These are the steps I followed:
- Download and install the Reolink client software from the Reolink website
- Click the ‘Add device’ button
- Click on ‘Scan LAN’ and doubled click the RLC-423 that it finds

- The default password is interestingly just ‘blank’.
- This should then open the camera stream.
Once you have the IP address, you can simply pop that into Chrome or Firefox to directly access the camera settings. You could also use the desktop client app to change camera settings if you don’t want to use the web-based admin panel.
You should change the password of the camera as soon as you can, especially worth noting as the camera doesn’t require you nor remind you to do it.
Software features
I prefer using the web admin page to watch the live view stream, to use the PTZ controls and to change camera settings. That’s because I can do this without installing anything on my devices, and I can do it from any device around my house.
So entering the camera’s IP address into any browser that supports the Adobe Flash player will let you login to the camera. Well an HTML5 interface would have been better for wider device compatibility but its far better than the NPAPI plugin that Hikvision insists on using. You can choose the stream you want to see at the login screen, Channel 1 is called Clear and is the 4 Megapixel stream. The other options are Balanced and Fluent. These can also be selected once you are logged in.
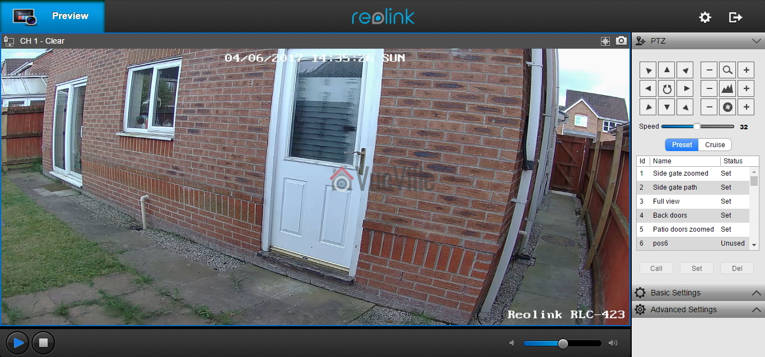
On the left hand side you have the live view stream, and at the bottom the play button lets you select between the video quality by switching between the Clear, Balanced and Fluent streams.
On the right hand side, an accordion type content holder has three sections – PTZ, Basic settings and Advanced settings. The basic and advanced settings sections are like a quick access area that duplicates the settings on the actual configuration page – accessed by clicking on the gear button at the top right.
The PTZ section lets you pan, tilt, and zoom, and adjust the focus manually. The camera has an auto-iris (aperture) control so the iris adjustment buttons are redundant and do nothing. You can choose the manual panning speed between 0 and 60 on a slider, with the default at 32. To make minor adjustments you have to lower the speed and then press the required directional button. The central spin button sends the camera into an endless spin mode, which is very nice feature if you set the pan speed to a low setting of 6 or 8.
There are two ways you can automate the PTZ function – presets or cruise mode. In preset mode, you can store up to 64 different positions in memory. Each preset will store the PTZ and autofocus settings. As you can see from the image above, I have stored quite a few positions. Preset positions are especially important if you plan to integrate the camera into your home automation system. For example, I could create a home automation scene in my Vera Plus to move the camera to a particular preset and take a video.
In cruise mode, you can define a path consisting of various preset positions and the camera will patrol the area according to those presets. Again this is a very useful feature and I am happy to see it on the Reolink RLC-423.
The Basic Settings section includes OSD settings, video stream encoding and image settings. The OSD page is pretty standard and lets you choose whether and where to show the OSD information such as day, date and time.

The Basic Settings is where you can set the video resolution, bitrate and frames per second of each of the Primary “Clear” stream (4MP default) and the Fluent stream (640×360 default). Interestingly, the ‘Balanced’ stream is missing in the stream selection dropdown.

The Image section lets you adjust the usual image settings such as brightness, contrast, saturation, sharpness and also mirroring and image rotation.

The advanced settings tab is where you will find the rest of the video settings and the ones I was most interested in – exposure, backlight and noise reduction. Setting the Exposure to ‘Low Noise’ lets you control just the range of gain, ‘Anti-smearing’ lets you control only the range of shutter speeds and manual lets you select both the gain and shutter speed ranges. The range selection method is novel – it means the camera will automatically choose the optimum settings from the range you specify. I didn’t see an option to change the i-frame interval. This is a bit strange as it is a setting that I would have expected to find. Why is it important? The i-frame setting specifies how often the entire frame is captured and not just what has changed from the previous i-frame. So being able to control it is important for getting the right balance between network bandwidth utilisation and a high quality non-blurry video.
As I said earlier, the real camera settings configuration page is accessed by clicking the gear icon at the top right. This lets you access network settings, motion detection settings, user control, and system maintenance settings.
There is no built-in NVR feature, so the camera cannot record to a network or NAS drive. This is a feature power users like but at this price point, its easy to understand why its missing.
Performance
I tested the camera at its default settings except for the frame rate, which I lowered from 30fps to a more realistic 10fps that most people recording 24/7 would use. I also added the RLC-423 to my favourite mobile CCTV app, tinyCAM monitor Pro to access the secondary stream.
Secondary stream: 640×360, 512 Kbps @ 6 fps.
PTZ Function
The PTZ function is the headline feature of the RLC-423. I found the PTZ to be fast yet quiet in operation. Here’s a video of the camera in action:
Daytime video quality
The RLC-423 is a 4 megapixel with a 1/3″ sensor. So I was expecting very high quality video and I was not disappointed, Daytime video is crisp and appeared to be sharper than my 4 Megapixel Hikvision DS-2CD2542FWS-IWS.
If the camera has one weakness, its the speed of the autofocus. While the accuracy of the autofocus is pretty good, it does take a few seconds to autofocus after zooming in or out.
Here’s a sample video of a recording during the daytime:
Night-time video quality
The real test of an IP camera is when the sun’s gone down and the lights are off. The Reolink has 6 high-power LEDs and a claimed InfraRed range of 60 metres.
Note that the RLC-423 doesn’t have true WDR, it employes digital WDR. So I was keen to look at the various backlight options:
- backlight off
- backlight on, and
- Dynamic Range Control
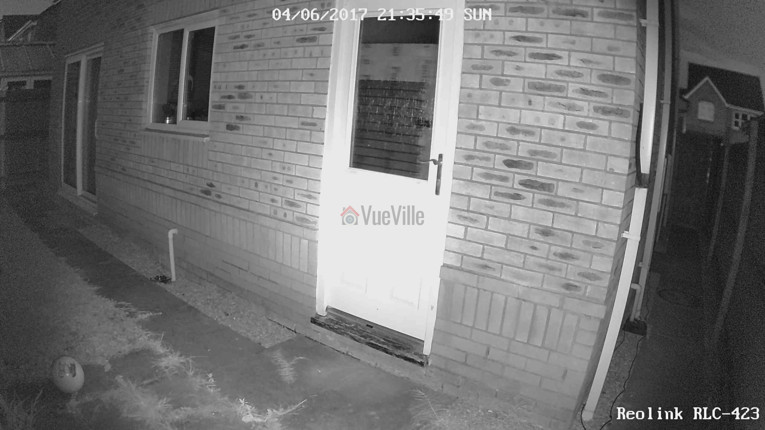
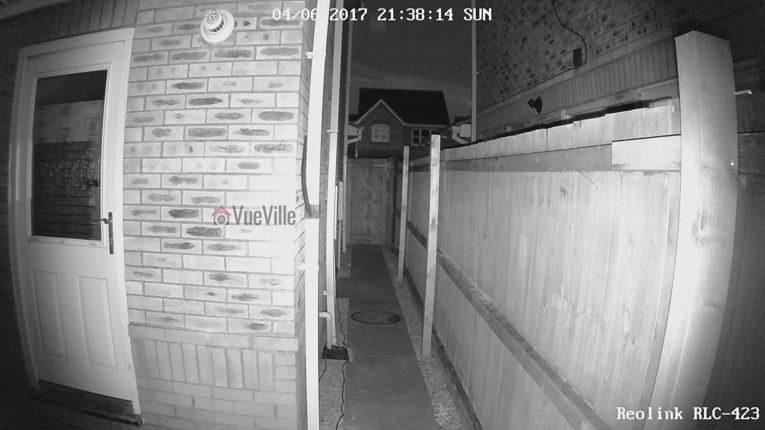
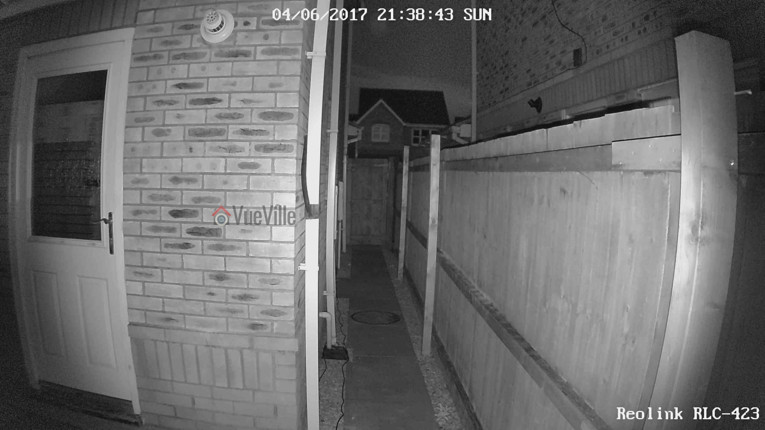
So how did it perform? The video quality is excellent and I was very surprised to see the almost total lack of noise with the noise reduction setting on as default. Unlike most IP cameras, the noise reduction did not come at the expense of image quality. Check out the sample video below shot at default image settings (backlight off) and with Dynamic Range Control:
You can examine the effect of the various backlight settings in the screenshot comparisons below:



Verdict
I am very excited that Reolink has launched such a high quality PTZ camera at such an affordable price point. This is the first affordable PTZ IP camera that I can recommend without any reservations. Yes the configuration options are a bit limited compared to the extensive configuration pages that Hikvision cameras boast, but you now what the Reolink RLC-423 does pretty well without it.
One weakness is the auto-focus which could be faster – but we need to put this in perspective. Its actually the impressive speed of the pan and tilt movements that highlights the relatively slower auto-focus. There are no alarm connections but that’s not a deal-breaker, especially given the price of the camera. What’s more important is the ONVIF and RTSP support that makes the camera very easy to integrate with the rest of your home security system.
Ultimately the PTZ functions superbly, video quality and resolution are stellar, and noise is very well contained with the help of the high power EXIR LEDs. The flexibility offered by the Pan-Tilt-Zoom features is immense and at this price level, the Reolink RLC-423 PTZ IP camera is a great buy.
Where to buy
(* = affiliate link / image source: Amazon Associates Program)




Can you advise please if Reolink and other manufacturers NVR actitecture is interchangeable? My reason for asking is that I have a Swann NVR system but would like to add the Reolink RLC 423 PTZ camera – will this camera work with my Swann NVR 7400 controller? Thanks in advance.
I don’t think this will work because Reolink explicitly states on their website “Reolink NVRs are designed for Reolink security cameras ONLY”.
Hi Daniel. Thank you for your thorough review. This is only second camera system to install, so I’m still a beginner. I purchased a 4 camera package from Reolink (8 Channel 5MP NVR Includes 2TB Hard Drive Night Vision, 2 dome cameras, 2 bullet). I’d like to add the RLC-423. It will be far away from the NVR (30 meters,100 feet). Will a standard cat5 cable provide enough power to it over that distance? I saw in your review that you added something called a power injector but it didn’t work at great distances. Also, what steps must be taken to add audio to this camera? It says it has an RCA jack, but is that to plug in a microphone or do I need 100 feet of RCA cable as well in order to hear sound out of the camera?
Hi, you are welcome! There are two ways of using Power over Ethernet – using a smart device such as a network switch which will automatically detect the power needs of the camera and provide it, or a dumb injector that takes a power source and a data source (Ethernet cable) puts them into a single Ethernet run and at the camera end, splits the two out again. With the first approach, you simply plug in the camera into the switch and you are done. You don’t have to worry about the length of the cable, the switch will increase the power output up to 25.5W if required by the camera (taking into account voltage drops over long Ethernet runs). With the second method you have to provide the correct power input but then you get to mess around with the power available at the camera end (say for powering an external microphone).
This camera is of the 802.3at Power over Ethernet variety (up to 25.5 Watts per port) which my 802.3af PoE switch (up to 15.4W per port) doesn’t support. The difference is in the wattage each network port provides, which in turn depends on the voltage and current, because Power (Watts) = Voltage (Volts) x Current (Amps). I went for the dumb approach as I didn’t have an 802.3at network switch – I used the power adapter provided by Reolink together with a PoE injector/splitter cable combo (the white ones in the photo) I had lying around, this is why it didn’t work over long distances. The power adapter provided by Reolink had a power rating sufficient for the length of its cord which was just under 2 metres, and as I found out it is also fine for Ethernet runs of up to 30 feet (this depends on the quality of your Ethernet cable of course). It was not intended to be used with a 100 feet Ethernet cable because the voltage will drop markedly over such lengths and therefore total power at the camera end would be less than the 22W it needs to work properly. So if you use either a 802.3at PoE switch or injector, you can use the camera over a 100 feet long Ethernet cable.
For audio, since this is a digital network camera, there is no need to run anything other than a single PoE Ethernet cable to your camera. Since it does not have a microphone on-board, you need to plug an audio source into the RCA plug at the camera end. You can use a powered external microphone like this one and plug it into the RCA port easily. The camera will add this audio input into the video streams it produces. You can play back the audio on any computer or mobile device, and record it on your NVR. Most probably you won’t have a separate power source for the microphone at the camera, so as I mentioned in the first paragraph of this comment, you may need to go for the dump PoE injector approach: at the camera end split the PoE into power and data and then further split off the power to the microphone and the camera. I haven’t tried this myself.
The only problem I have with this can is that even though it’s mounted 20 feet up I can’t get the height of view I need at full zoom. If it could be mounted up side down then it would work. I really don’t need to see straight down under the cam.
I wonder how that camera RLC-423 perform in harsh weather in Canada where the temperature could reach in my place on average -15 to -25. Also is the tilt rotation and pan works continuously when there is a motion or without a motion can be set up.