If you have read my DIY home security camera system story, you know that I have gone the FullDIY route and created a DIY NAS NVR system. So I have a single box, the QNAP TS-253A running my entire home security system with redundant RAID storage, an OpenVPN server for secure access from outside the home, email notifications, push notifications, and USB backups. And oh, it also serves as my home file server, DLNA server and mobile device backup destination. Did I say I get all of this in one box that costs less than $500? I love my NAS!
So you have bought your QNAP NAS and now would like to setup the NAS as an NVR. Here’s a step-by-step guide showing you how.
Click the Install button and when it is installed, click the open button
Login with your admin account
The next step is to choose a recording folder. I chose to create a new shared folder called ‘Recordings’. Click Apply.
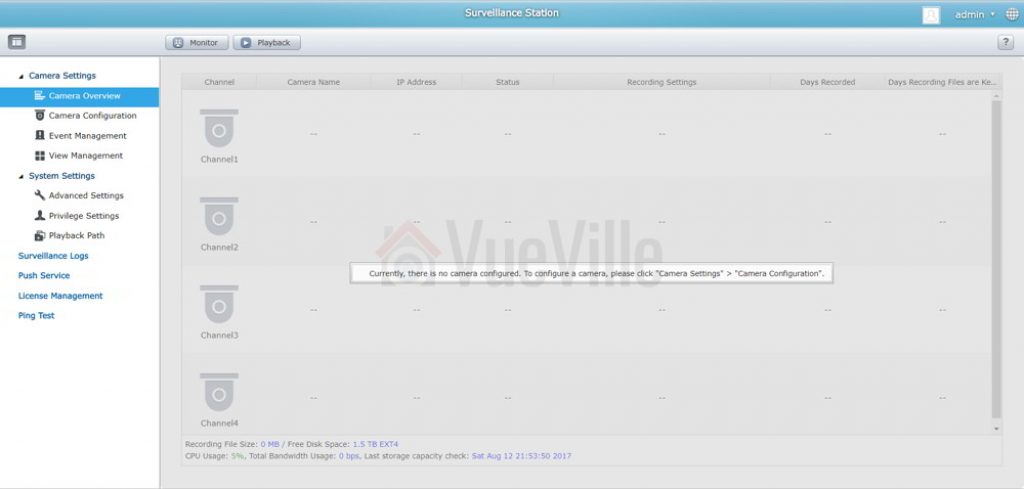
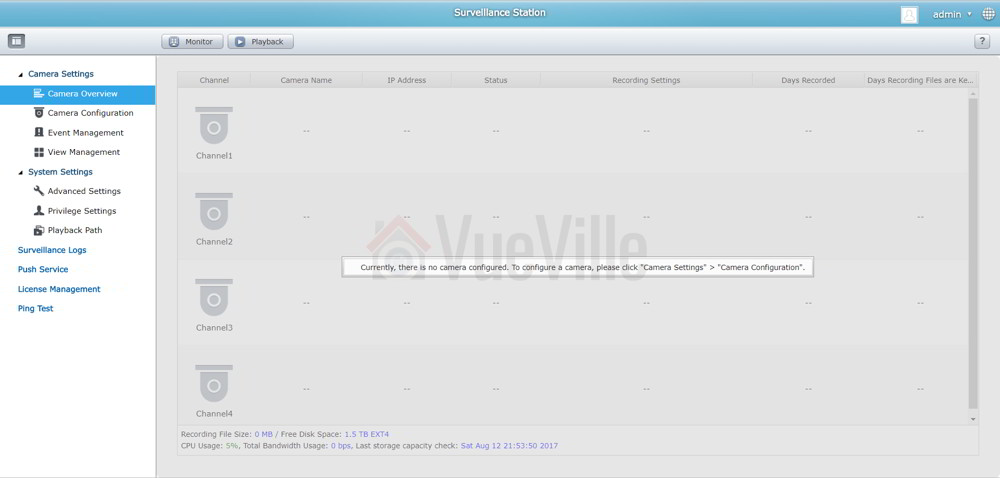
After a minute, you should reach the Surveillance Station home page
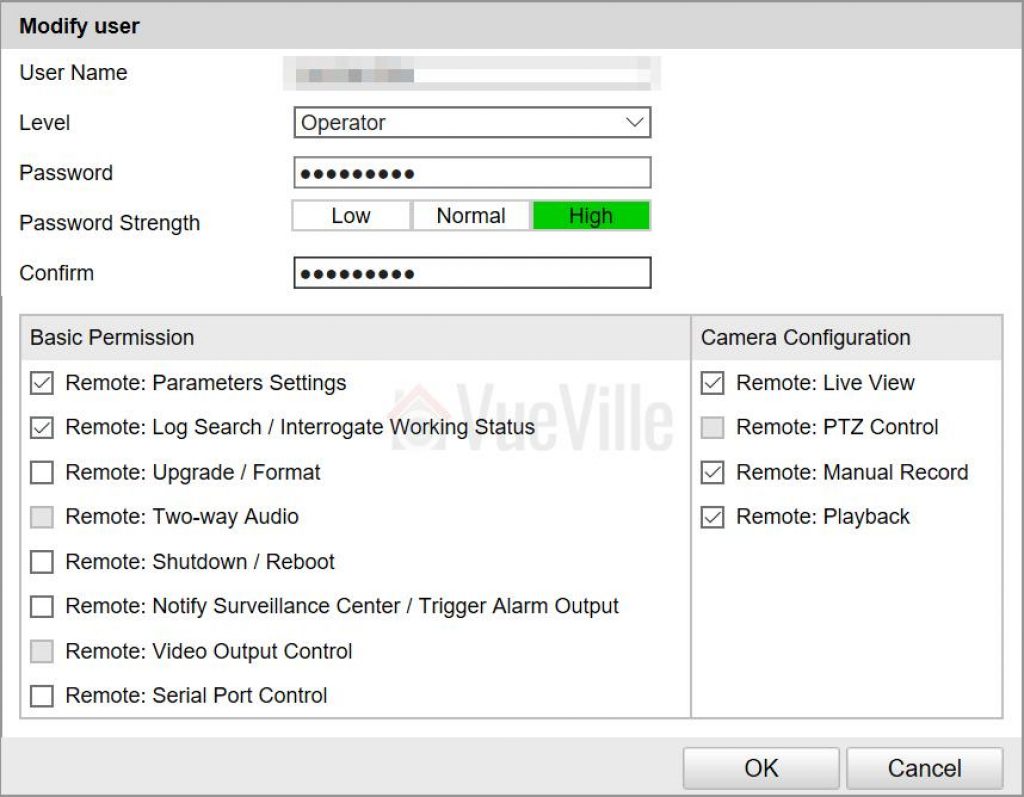
Create a new account with full access in each of your cameras. We will give these login details to Surveillance Station in the next step. Make sure the accounts are of type Operator and not User if you are using Hikvision cameras. Here’s what this looks like in my Hikvision IP camera:Note: If you have trouble getting QNAP Surveillance Station to recognise your cameras, just use the admin account of your camera.
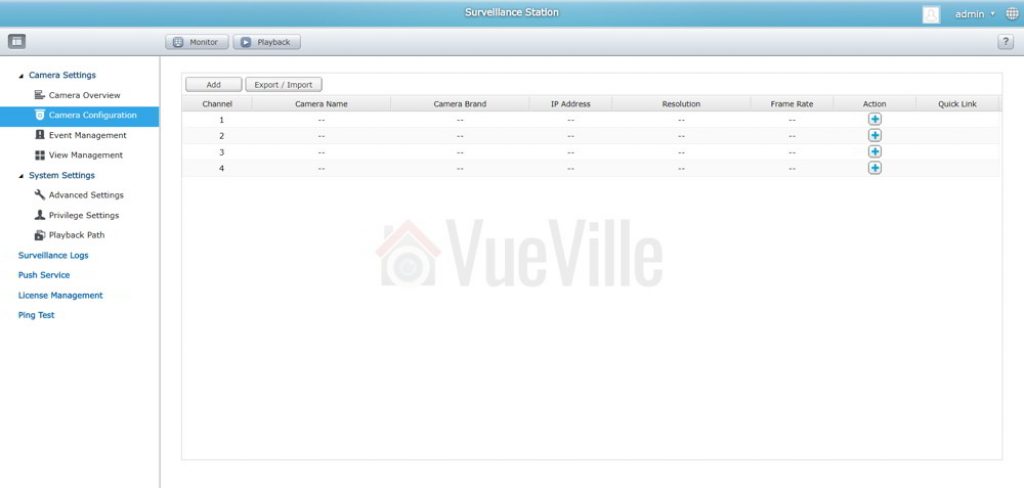
Adding a camera
Go to Camera Settings and click Camera Configuration
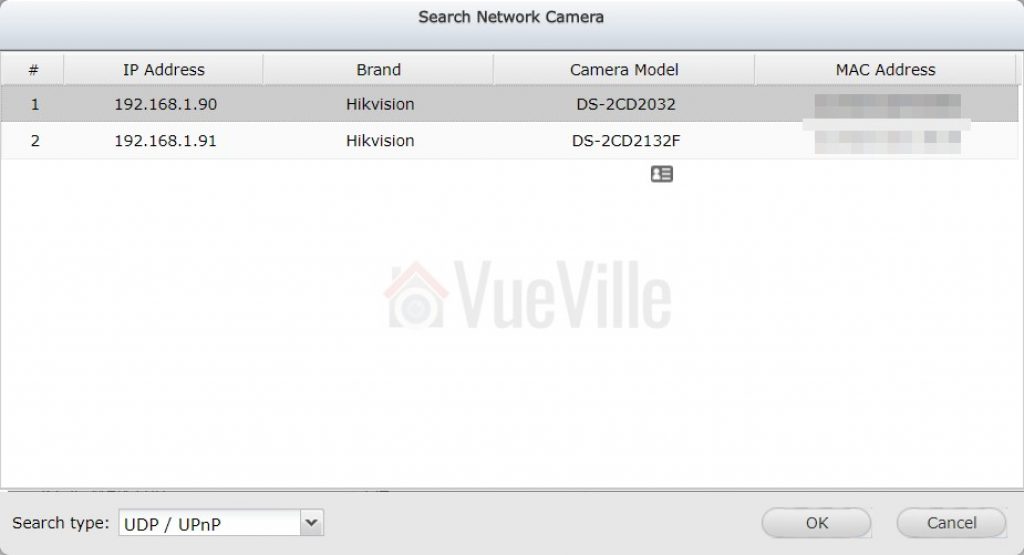
Now click on the Add button. I like to manually configure my cameras, but you can also have the NAS search for them automatically using uPNP or ONVIF. If you have disabled uPNP on your cameras, you will be able to use only the ONVIF or manual setup method.
Select the camera you want to add, enter the camera details and then click TEST. Make sure you use an account with admin privileges, otherwise you will get a question mark instead of the preview image. Click Next.
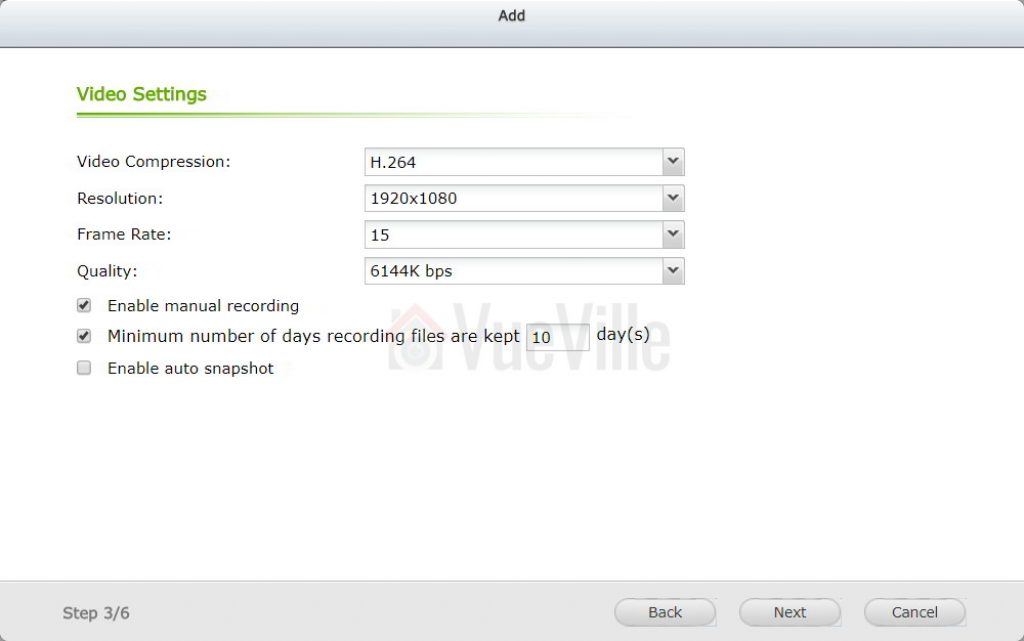
Enter the quality settings as desired. Click Next.
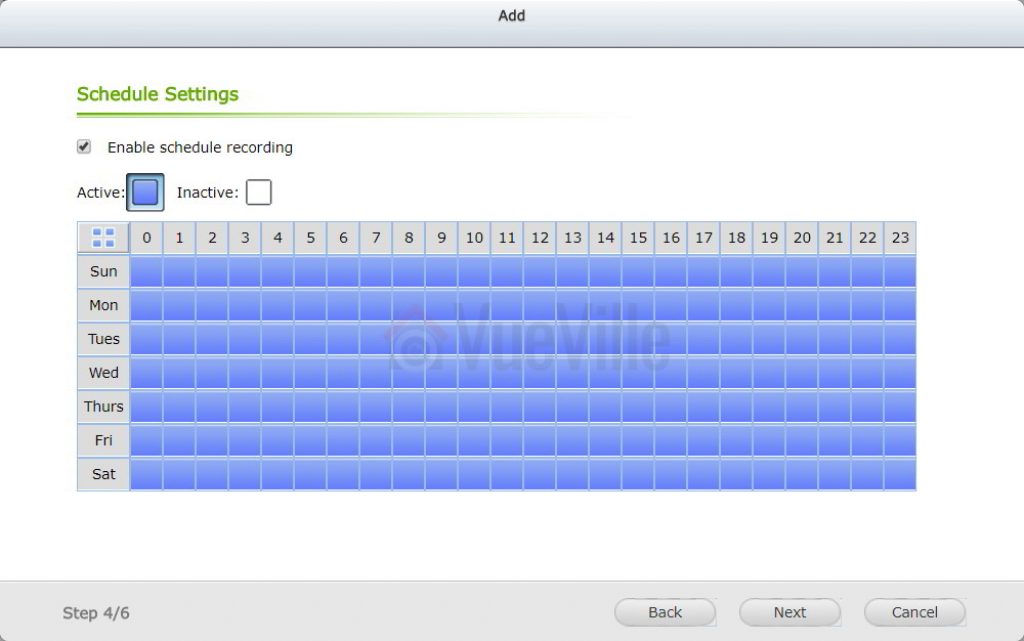
Enable Schedule recording if you wish to record 24/7. Click Next.
Review the settings you have chosen and click Next.
You should now see the success message.
Once you have added all your cameras, the camera configuration page will look like this:
Viewing your cameras
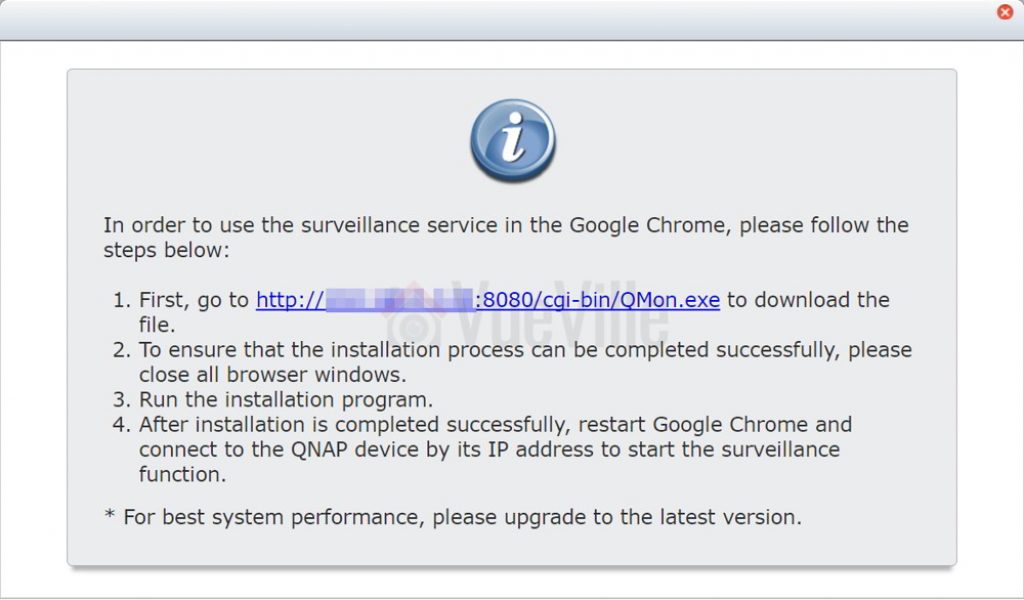
The first time you click on the Monitor button, you will get the following message:
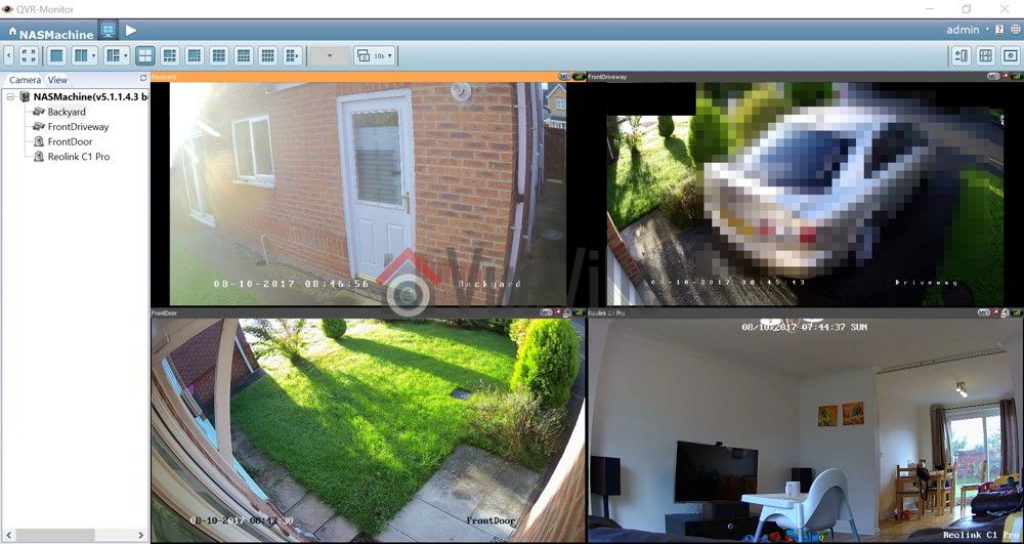
Once you install the QMon plugin, you should be able to view all your cameras simultaneously
That’s it, now you have set up QNAP Surveillance Station to receive video streams from your IP cameras.


Leave a Reply