
 Smart power plugs are perfect for turning dumb devices in your smart home into truly useful smart devices.
The best kind of smart power plugs are the ones that not just act as a relay and can turn attached devices on/off, but can also measure power consumption.
Apart from knowing how much power is being used, this lets you do some amazing things such as detect when dumb devices turn on or off by themselves, like an automatic pump or a compressor.
I am a fan of the Neo Coolcam line of Z-Wave products and I have reviewed their motion sensor, door/window sensor and smart siren. I just bought their smart plug and have been using it for some time now. So here’s a hands-on review of this cheap and cheerful smart plug.
What else do you need to use this smart power plug?
The Neo Coolcam Z-Wave Smart Plug is not a standalone device. It is intended to work as part of a Z-Wave based smart home.
So you need a Z-Wave controller such as a Hubitat Elevation, Vera Plus, or HomeSeer HomeTroller Sel that acts as the smart hub to use this sensor. This is the right way of building a smart home that you can upgrade and enhance as you wish, instead of getting stuck with things that work only with the manufacturer’s other devices or an internet-reliant smart speaker like Alexa.
Unboxing
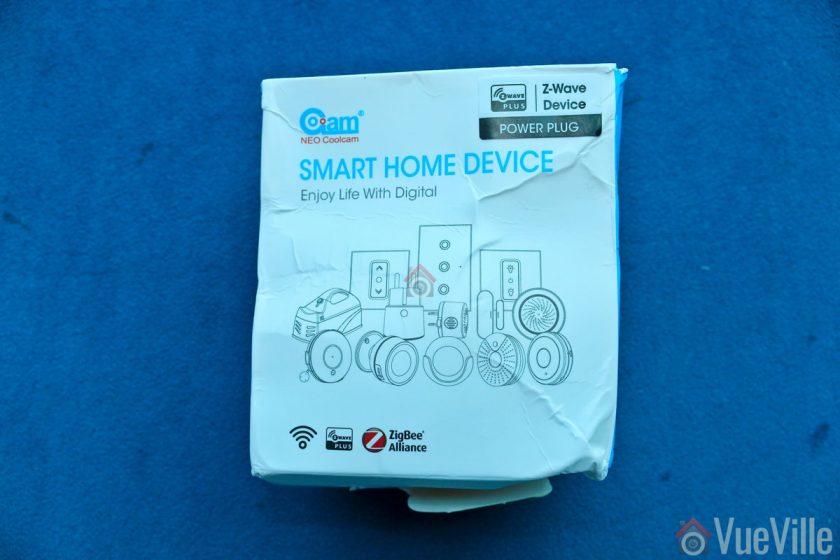
The Neo Coolcam Z-Wave Smart Power Plug comes in a blue and white modern looking box package. The Z-Wave Plus logo you see on the box is not printed but is a sticker. Seeing as they also sell Wi-Fi & Zigbee smart plugs which share the same box package, this is a smart bit of cost savings.
 The back of the box lists the main specifications of the sensor.
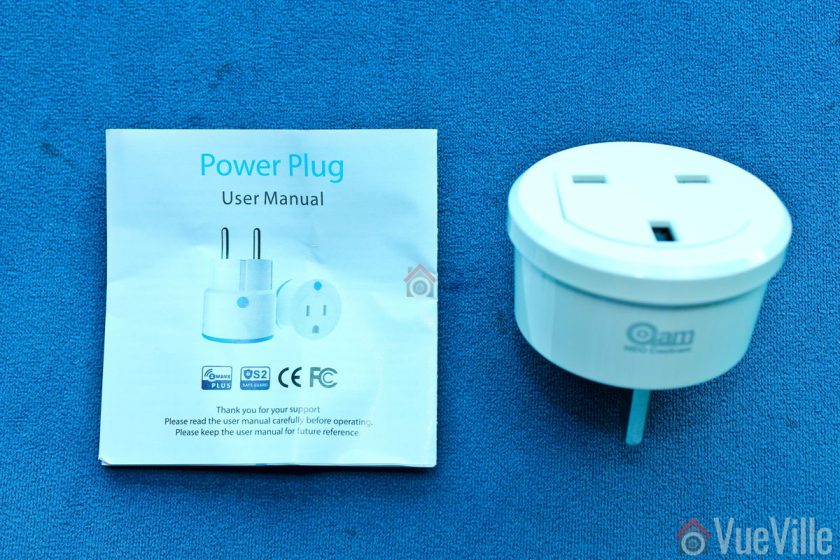 Opening the box, we find the following:
- Z-Wave Smart Power Plug with power metering
- User manual
Neo Coolcam Smart Power Plug Manual
The included user manual is high-quality and unusually for Chinese products, has good quality English. Here’s a link in case you want to check it out before buying.
Specifications
[table id=66 responsive=”scroll” /]
Design & Features
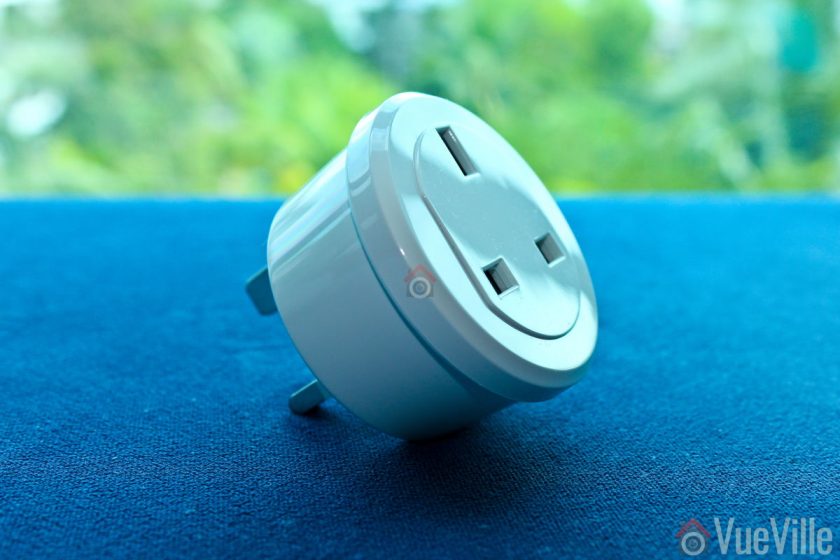
The Neo Coolcam Smart Power Plug like other Coolcam devices has a glossy plastic finish. It doesn’t scream premium but is well-made and doesn’t look cheap.
There is an LED next to just below the right plug socket. It is primarily used to indicate Z-Wave inclusion/exclusion mode and other statuses.
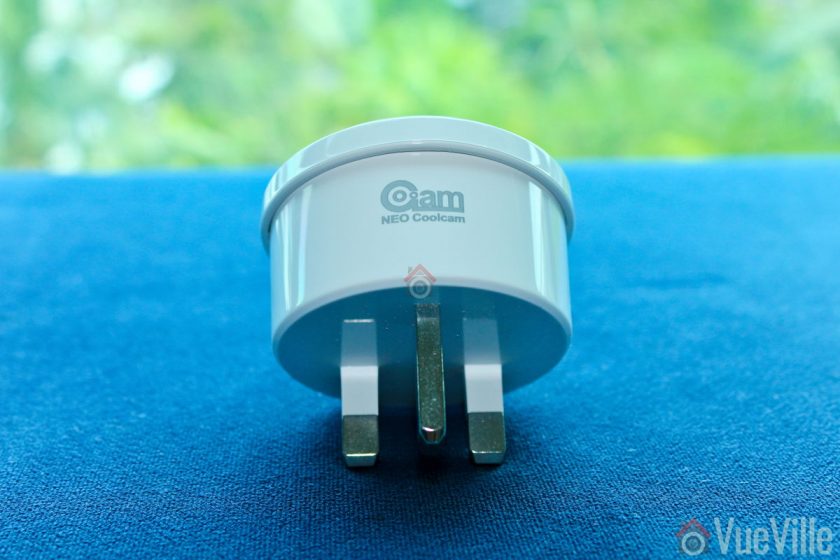
The Neo Coolcam logo is at the top of the plug.

The ‘code’ button is placed under the plug. This button has a few different functions: waking up the sensor so that you can configure it, putting the sensor in inclusion/exclusion mode and for restoring factory defaults.
Installation
Its always best to perform a factory default on a new Z-Wave device before including it in your Z-Wave network. I have found that this one step usually solves any problem I am having with including a new Z-Wave device.
My first attempt at including the plug in secure mode failed. So this is one device that you may need to add in non-secure mode to your Z-Wave network. Shouldn’t be an issue though because a smart plug is not a security device like a smart plug which must be added in secure mode.
So these are the steps I took to set up the sensor:
- I put HomeSeer into inclusion mode.
- The red LED flashed 4 times.
- I pressed the code button on the Coolcam sensor thrice very quickly (it needs three presses within 1.5 seconds).
- After a few seconds, HomeSeer reported that the sensor had been successfully included and the child devices had been created.
This is what the HomeSeer HS4 interface looks like for the Neo Coolcam Smart Plug:
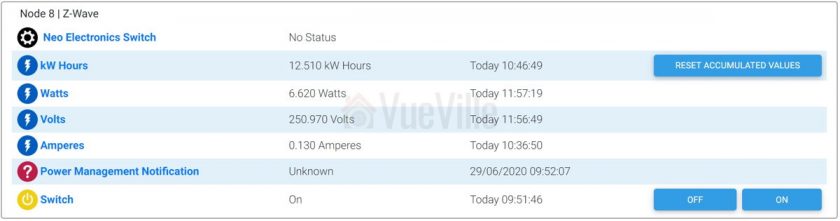 The first device is the parent device and the one where you configure settings such as Z-Wave parameters and polling intervals. Then we have the kW Hours device which stores cumulative energy usage. Then there are the usual Watts, Volts and Amperes devices which are used to calculate energy usage. The Power Management Notification device is next and this is where current overload warnings are shown. The switch has a maximum load current of 16A and of the load current exceeds this limit, the switch will automatically cut off, send a warning to this HS4 device and flash the red LED every 1 second. Finally you have the actual on/off switch control.
Configuration Parameters
There’s a wealth of Z-Wave parameters that you can adjust, but the one that I was keen on checking out is the Watts reporting interval – Parameter 7.
[table id=67 responsive=”scroll” /]
The default for Parameter 7 is 300 seconds and the minimum is 30 seconds. But I wanted a more frequent interval, like 5 seconds. So instead of changing this parameter, I simply changed the Z-Wave polling interval to 5 seconds in HS4.
Performance
There are 3 main criteria that define how good a smart power plug is:
- Response time
- Reliability
- Z-Wave wireless range
I tested the Neo Coolcam smart power plug over 2 months at the time of publishing.
Response time: Excellent
How quickly does the sensor respond to ON or OFF commands from the Z-Wave controller? You do not want a delay at all. I was very pleased to see that the Coolcam Smart Plug’s response was instantaneous with no discernible delay in my Z-Wave smart hub interface whenever I turned it on or off.
Reliability: Excellent
Does the smart plug miss ON or OFF commands, especially when they happen in quick succession? In my months of testing, it never skipped a beat. Every ON/OFF command was received and actioned by the smart plug.
By default the smart plug updated the energy consumption and other metrics every 300 seconds without fail. After I changed the HomeSeer4 polling to 5 seconds, I got updates every 5 seconds.
Z-Wave wireless range: Very good
Since Z-Wave is a mesh network technology, the strength of your Z-Wave network at the point of installation depends on proximity to the smart hub or a repeater device.
All AC powered Z-Wave devices act as repeaters and we have a generous number of Greenwave Powernodes scattered around the house.
So it was no surprise to see that the Coolcam Smart Power Plug was working perfectly thoughout our home.
Where to Buy
[easyazon_link identifier=”B07HRCZY38″ locale=”UK” tag=”vueville.com-eaz-21″]Check Price on your local Amazon site[/easyazon_link]
Verdict
The Neo Coolcam Z-Wave Smart Power Plug is a fairly priced Z-Wave smart power plug that works very well. Even though the Coolcam brand is seen as a Chinese brand, I have found their gear to be solid performers without an inflated price tag.
[review]
Leave a Reply