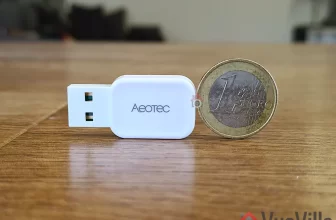
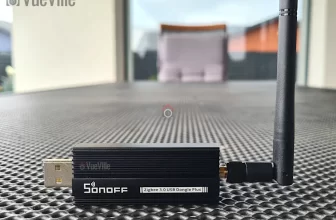
If you are planning to build your own DIY Z-Wave gateway with a laptop or Raspberry Pi and home automation software such as HomeSeer HS3, openHAB, Home Assistant or Domoticz, you will need a USB Z-Wave stick/adapter/dongle.
These USB Z-Wave sticks are not a solution in and of themselves. They are just a tool to enable your Home Automation software to send and receive Z-Wave signals to/from your Z-Wave devices.

When I moved from the Vera Plus to HomeSeer, I got an Everspring SA413 USB stick off eBay. The Everspring is actually a ‘Sigma Designs UZB’ and that’s how my HA software, HomeSeer HS3 identifies it too. It served me well all these years and has always been very reliable.
So when Aeotec kindly sent me the latest model of their Z-Stick Z-Wave Gen5 USB stick which has several innovations such as a built-in rechargeable battery, I was keen to put it through its paces.
A quick note: As an Amazon Associate I earn from qualifying purchases. This post contains affiliate link(s). An affiliate link means I may earn advertising or referral fees if you make a purchase through my link, at no extra cost to you.
Aeotec – who are they?
Aeotec used to belong to Aeon Labs, the company founded in 2006 and based out of Silicon Valley. But Aeotec no longer belongs to Aeon Labs. They also have another brand that’s popular in the smart home market – Popp.
Aeotec are also an OEM for other brands such as Oomi.
Unboxing
The Aeotec Z-Stick Gen5 comes in an attractive sleek package. It is no larger than it needs to be and avoids needless plastics and packaging. The front of the box highlights the main features such as the built-in diagnostic tool and the multi-coloured signal strength LED.

The rear side lists the specifications and model number of the Z-Stick.
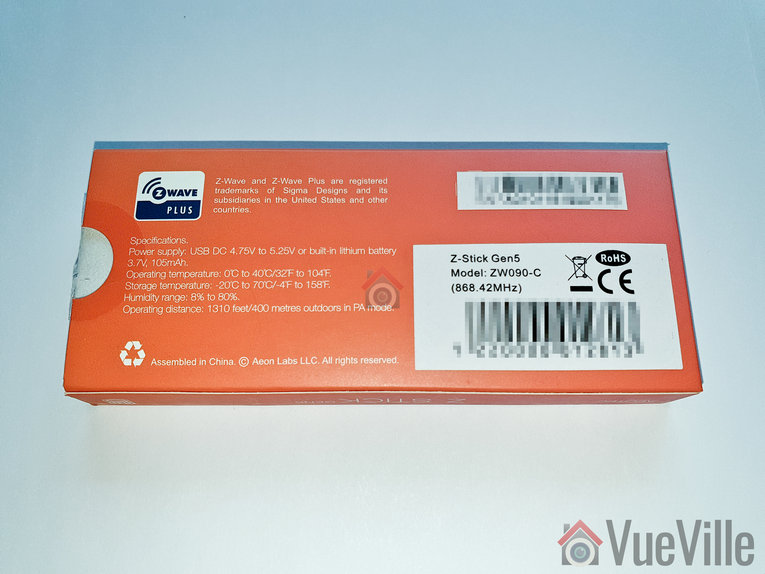
As you can see, the ZW090-C model above is for countries using the Z-Wave frequency 868.4 MHz. This includes Europe and some Asian countries. The ZW090-A model is designed for countries using the 908.42 MHz Z-Wave frequency such as the USA.
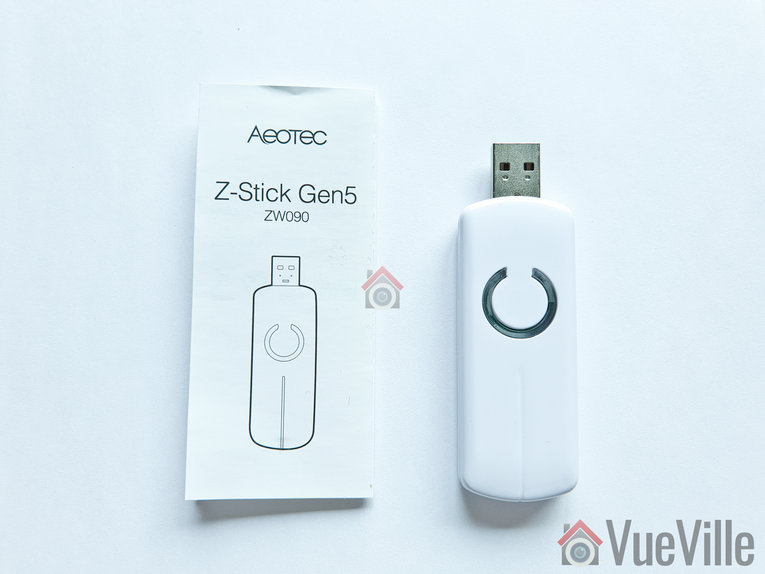
Opening the box yields the Z-Stick and a concise quick start guide.
Specifications
- Z-Wave Gen5 chipset
- Brand Name: Aeotec
- Product Identifier: ZW090-C
- Z-Wave hardware platform: ZM5101
- Z-Wave Plus Version: 1
- AES-128 bit encryption
- Can control up to 232 Z-Wave devices
- Over the air firmware updates for Z-Wave devices
- Built-in Z-Wave network diagnostic tool
- Z-Wave signal strength LED
- Power Supply: USB DC 4.75V to 5.25V;
- Built-in rechargeable lithium battery 3.7V, 105mAh, 15 days backup power
- Max Standby Current: 30uA
- Max Operating Current: 98mA in PA mode or 40mA in normal mode
- Operating Temperature: 0 to 40°C
- Storage Temperature: -20 to 70°C
- Operating Distance: Up to 492 feet/150 metres outdoors in normal mode, 1310 feet/400 metres outdoors in PA mode.
Design and Hardware Features
The Z-Stick Gen 5 differentiates itself visually with the unique LED on its top face which surround the action button. According to the manual, the LED behaves differently depending on what you are doing:
- When you press the Action button, the LED blinks blue slowly
- When you are including a device to your Z-Wave network, it will blink blue fast during discovery and stay solid on successful inclusion
- When you remove a device from your Z-Wave network, the LED will blink orange
- Troubleshooting network issues
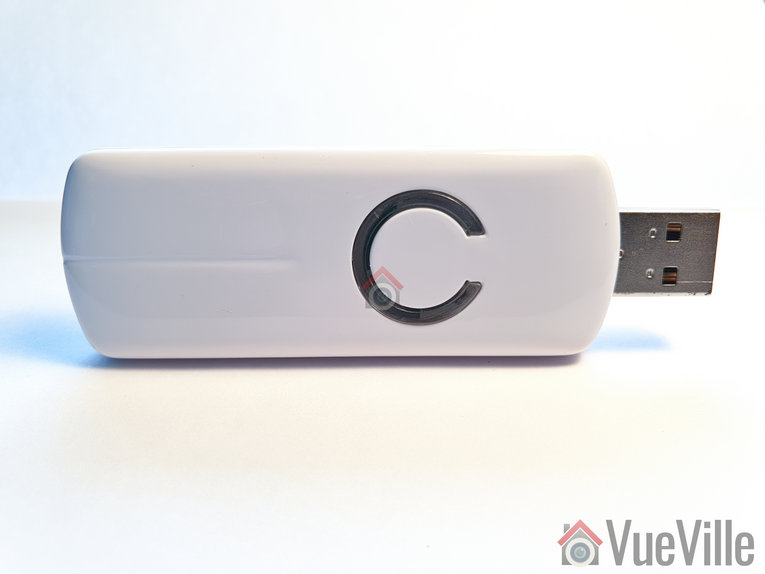
In my experience with HomeSeer HS3, the LED has done only two things though: cycle through red, blue and amber all the time, and turn solid red if a Z-Wave command failed to reach a device.
The bottom of the Z-Stick has a physical reset button.

Software Features
Z-Wave features
The Aeotec Z-Stick is a self-powered Z-Wave USB adapter with remote network creation capabilities. This means it can function independent of external power and a host system such as a computer. This is all thanks to the 105mAh built-in rechargeable battery.
Being able to remotely include or remove Z-Wave devices greatly simplifies Z-Wave network installation. For devices that are far away from your main controller, you can unplug the Z-Stick from USB and take it to the device that you want to include.
Z-Wave network troubleshooting
- In Serial API Mode and acting as a primary controller, it can measure the network health for each device in the network – the colour indicating the signal quality between the Z-Stick Controller and devices in the network.
- When the Z-Stick acts an independent/secondary controller that has been unplugged from USB, it can measure the health of your Z-Wave network. The LED colour indicates the communication quality between the Central Controller and the current location of Z-Stick in the network. This is great for troubleshooting your device and is why it has a battery built-in.
OTA Firmware Updates
One of the reasons you may want to get the Z-Stick is to update the firmware of other devices such as the Aeotec Multisensor 6.
Compatibility with HA Software
HomeSeer HS3 natively supports Aeotec Z-Stick and has a specific selection for it in the Z-Wave interfaces list. Moreover Aeotec has tested and confirmed compatibility of the Z-Stick with HS3, InControl and Indigo7. The openHAB and Home Assistant community have developed plugins to allow the Z-Stick to work with their software too.
Installation and Setup
The Z-Stick works in 3 different modes: Inclusion-Mode (standalone), Removal-Mode (standalone) and Serial API Mode (plugged into USB of your HA gateway).
In the following setup process, I had the Z-Stick plugged into my HA laptop running HomeSeer HS3 all the time i.e. in Serial API mode.
Setting up the Z-Stick with HomeSeer HS3
As I have just moved home, I wanted to set up my home automation system again from scratch. This meant a fresh install of HomeSeer HS3 – what better time to test a new Z-Wave USB stick!
So after installing HS3, I activated the official Z-Wave plugin. I then plugged in the Z-Stick into a USB3.0 Hub. Windows recognized the Z-Stick immediately and assigned the COM-3 port to it. The COM port number Windows assigns depends on the USB port you lug the Z-Stick into. So if you switch USB ports, that will be why your HA software can’t find the Z-Wave dongle any more.
Now as we saw earlier, HS3 fully supports the Aeotec Z-Stick so setting it up was a breeze.
I clicked ‘Add a Z-Wave Interface’, gave it a name, selected the Z-Stick from the drop-down menu and selected the only COM port shown – COM3.

On clicking the ‘Add’ button, HS3 started initializing the Z-Stick.

After a few seconds, HS3 displayed a success message. I clicked on the activate interface green tick box and setup was complete!

Now I expected the flashing red, blue and amber LEDs on the Z-Stick would then become a solid green or at least stop flashing. But they didn’t.
I couldn’t find any reference to this in the user manual, so I asked Aeotec. They replied that this flashing behaviour of the LED indicates normal operation. Also, if the Z-Stick is under heavy load, the LED will flicker between 2 different LED colors rapidly. This is potentially useful if you have a large Z-Wave network with hundreds of devices that need polling.
In my testing, the LED also became solid red momentarily if a Z-Wave command was sent to a Z-Wave device but it didn’t respond.
But the good news is that you can switch off the LEDs quite easily using either an official Aeotec tool or using Domoticz.
Pairing the Aeotec LED Bulb 6
I tested the Z-Stick by adding an Aeotec LED Bulb 6 to my Z-Wave network. These are the steps I took:
- As per the quick start guide, I inserted the LED Bulb 6 into a table lamp.
- I then had to set HS3 into ‘Inclusion mode’. For this I navigated to Plugins > Z-Wave > Controller Management. Under Actions, I selected ‘Add/Include a Node’ and clicked the Start button.
- I turned on the power to the LED Bulb 6. It turned solid yellow for a few seconds and then did a colour dance, flashing rapidly between white and green. At the same time I could see that HS3 had added the LED Bulb 6 as a new node. Then the bulb turned solid yellow again.
- As per the manual, the bulb had been successfully included in my Z-Wave network.
Performance
I tested the Z-Stick Gen5 extensively with the Aeotec LED Bulb 6, an Aeotec Wallmote Quad, and an Aeotec Doorbell 6.
Wireless Range
The Z-Stick has very good range is and comparable to the Everspring SA-413 I was previously using. My current home is of solid concrete construction and the Z-Wave signal could penetrate 2 solid concrete walls successfully. The mesh network design of Z-Wave networks is how my whole home is reachable with just one Z-Wave controller. Every powered Z-Wave device acts as a repeater.
Responsiveness and Reliability
I observed no noticeable delays or issues during the course of testing.
Compatibility
All the Z-Wave devices I used were successfully included and there were no compatibility issues at all.
Verdict
Where to Buy
Buy the Aeotec Z-Stick Gen 5 from your local Amazon store.
Alternatives
Z-Wave.me USB Stick
GoControl Z-Wave/Zigbee USB Stick
HomeSeer SmartStick+
Zooz USB Stick ZST10

