Smart home heating is all the rage these days. The Nest Smart thermostat kicked it all off in 2011 when it became the first smart heating device to go mainstream and capture the public’s smart home imagination. Now 7 years on, Nest is still around but its far from the only option for us smart home enthusiasts who want automated boiler control and separate independent heating zones.
Video Review
This is my first attempt at a proper video review, let me know your feedback!
Here’s the in-depth review as always:
Why would you use a smart radiator thermostat?
The Nest Thermostat is a viable multi-zone option if your home has independent heating circuits. But what if your home has no true zones, has just a single thermostat for the whole house and you still want to set up multiple zones in your home? This is where smart radiator thermostats come in.
How does a smart radiator thermostat work?
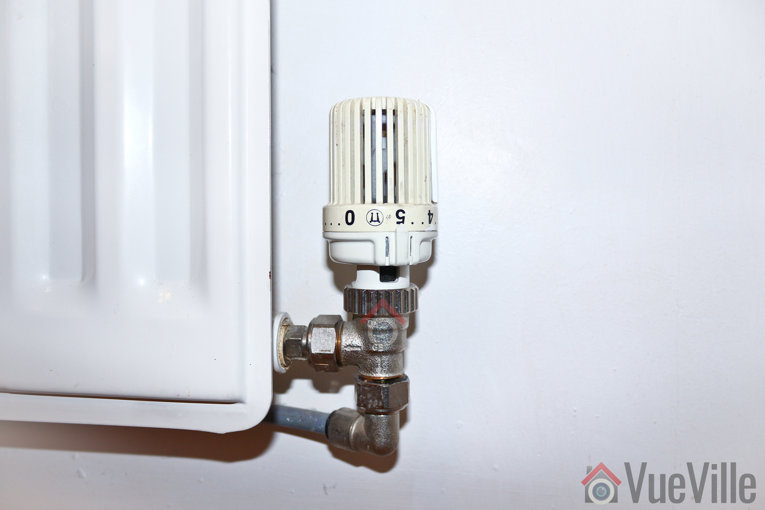
An electronic radiator thermostat is designed to replace your existing manual radiator thermostat which sits atop your radiator valve. Then the electronic radiator thermostat can directly control the valve by opening or closing it. The flow of hot water from your boiler circuit into the radiator is thus controlled.
Eurotronic Spirit Smart Radiator Thermostat
Unboxing
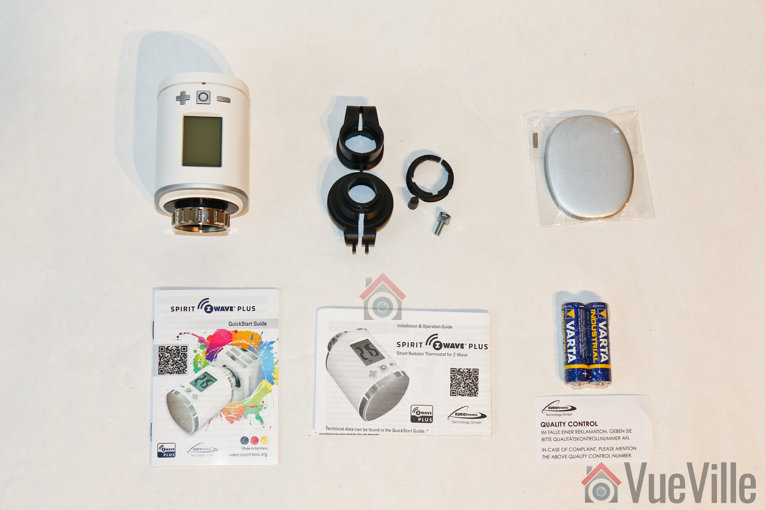
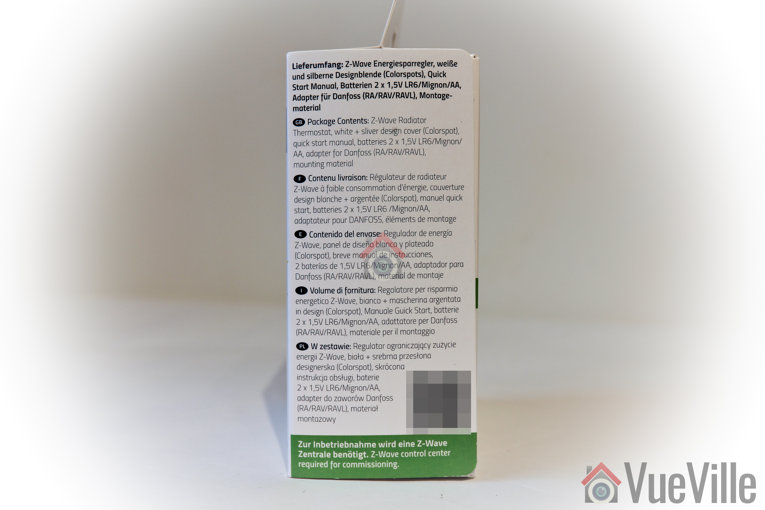
The Spirit comes in a compact box with attractive packaging. Opening up the box yields the following:
- Thermostat
- Adaptors and screws
- Exchangeable top panel
- Quickstart guide
- Installation & operation guide
- 2x AA Batteries
- Quality control confirmation note
Design and Hardware Features
I am a huge fan of the Z-Wave platform and always try to buy only Z-Wave enabled devices to maximise compatibility and avoid headaches. So when I decided that I want to go from my Vera Plus controlled single zone heating system to the new HomeSeer controlled multi-zone setup, I started looking for Z-Wave smart radiator thermostats. My research identified the following options:
- Danfoss LC-13 Living Connect,
- Fibaro Smart Thermostat,
- Popp Heating Thermostat,
- Eurotronic StellaZ,
- Eurotronic Comet, and
- Eurotronic Spirit
Of the above, only the Eurotronic Spirit has two features that I was looking for: a built-in temperature sensor and FLIRS (Frequently Listening Receiver Slave) which makes battery powered Z-Wave devices very responsive.
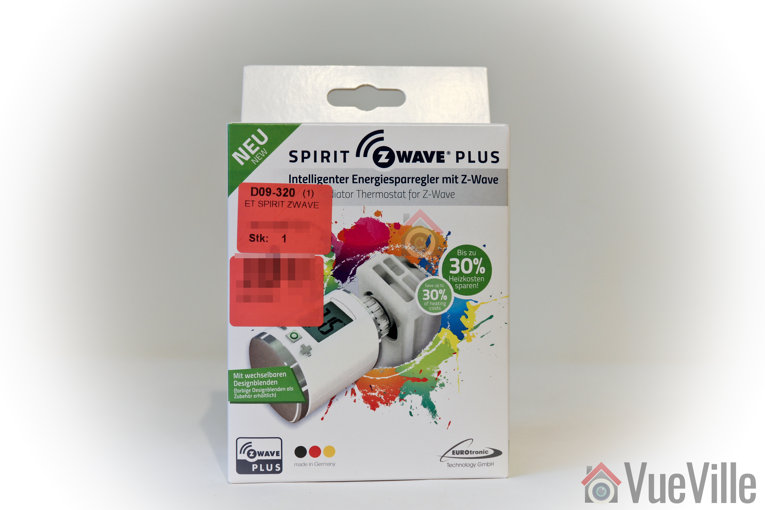
Eurotronic calls the Spirit an ‘intelligent energy-saving controller for Z-Wave with exchangeable design panels’ and can save up to 30% of heating costs. Using its built-in temperature sensor and its proprietary radiator valve control algorithm, the Spirit automatically decides how much to open the TRV.
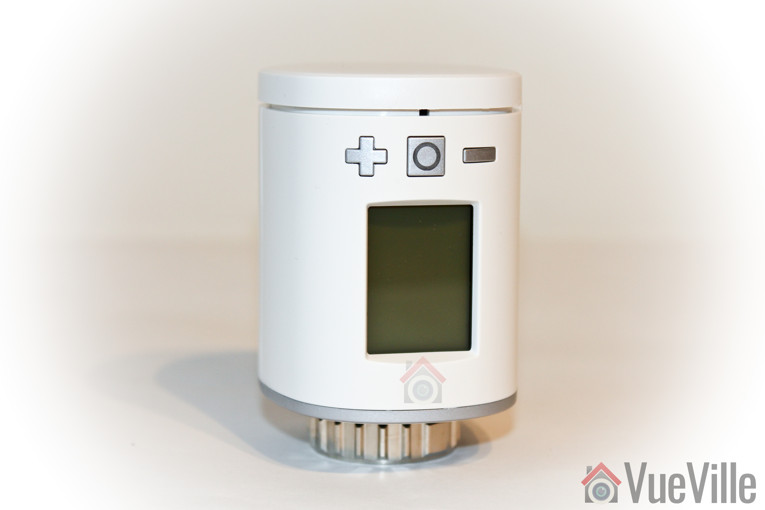
The thermostat itself is composed of three parts: the top panel that serves as the battery cover, the body itself which houses the LCD screen, the physical control buttons, and the bottom part with a M30 x 1.5mm thread which screws onto the radiator valve.

The top panel is the part that Eurotronic calls the exchangeable design panel. The default fitted panel is white, but there’s an additional grey panel in the box. You can also buy panels in other colours.
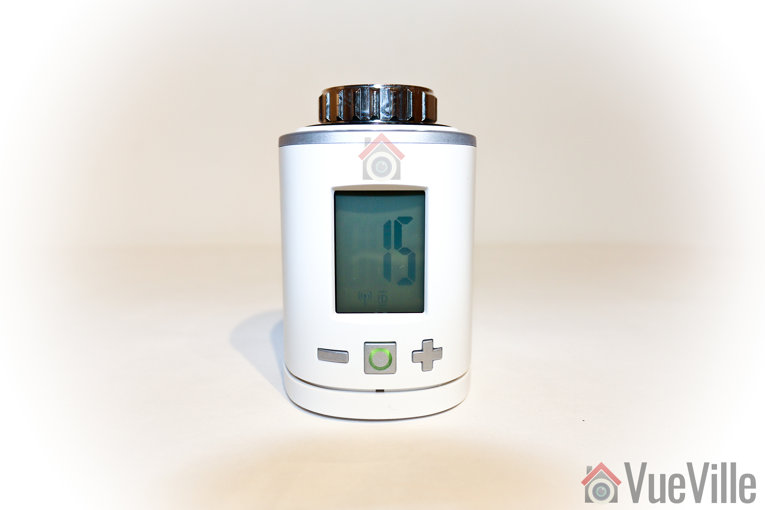
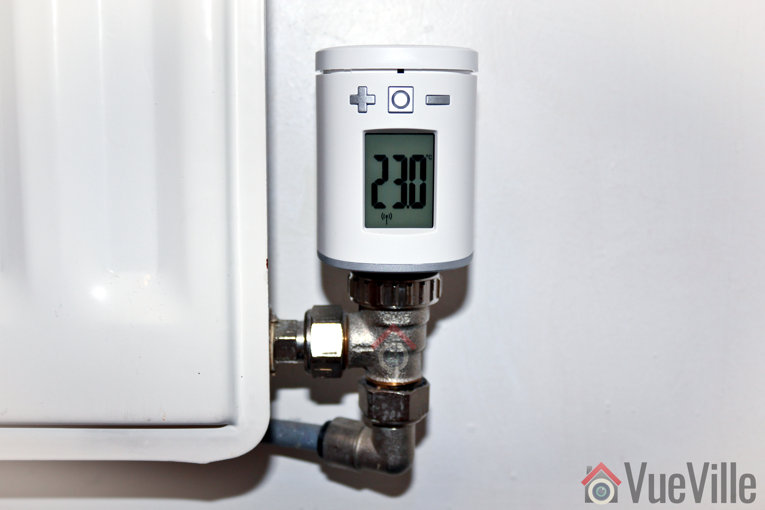
I really liked the large LCD that is also back-lit. Depending on the mode the thermostat is in (more on that later), the LCD shows you the temperature set-point or the valve opening percentage. There are also indicators for Z-Wave connectivity, child lock status, and low battery.
The physical set-point plus and minus buttons are not back-lit but have a nice solid action when pressed. The central button is called the Boost button as this is its main purpose in everyday operation. But it also serves a variety of purposes depending on the status of the device and it has a mutli-colour LED ring around it that can flash green or red to inform you of what’s going on.
The Spirit has a feature that I think all thermostats should have: an on-board temperature sensor that can report unsolicited temperature measurements back to your Z-Wave hub. Your first thought may be that these measurements are useless because of the proximity of the sensor to the radiator. You are right but an additional temperature measurement closer to the floor can be quite useful. It is also an easy way to confirm that your radiator is indeed heating when it should.
Software Features
One common issue that you will find on home automation forums is the poor responsiveness of most battery powered Z-Wave thermostats. Intermittently they do not respond to Z-Wave commands which is not what you want for your heating system.
The Eurotronic Spirit rectifies this by using a technology called FLIRS (Frequently LIstening Receiver Slave). Instead of waking up periodically to check with the Z-Wave hub what the set-point is, the thermostat continuously listens for incoming commands.
Another interesting feature is the open window detection which will turn off the thermostat for 15 minutes if it thinks a window has been opened. This can be cancelled by a button press and the sensitivity of the detection algorithm can be adjusted through parameter 7.
The thermostat can operate in 2 main states: default and manufacturer specific mode. Confusingly, Eurotronic clubs the latter together withe the operation modes of the thermostat. To clarify, you can set the following modes of the thermostat that Z-Wave controllers will discover and let you control: Off, Heat, Energy Heat, and Boost or Full Power. All of these modes are automatic in that they use the proprietary Eurotronic algorithm to decide how much to open the radiator valve. You cannot control the valve opening % yourself in these modes. This is possible only in the ‘manufacturer-specific’ state which Eurotronic calls a mode but is not a mode in the Z-Wave sense as it is not something you can control directly or through setting parameters. This is the only disadvantage that I found with the Eurotronic Spirit thermostat.
That said, you can configure quite a few parameters of the Spirit:
- Invert the LCD display
- Adjust the LCD timeout
- LCD backlight
- Battery report method and frequency
- Measured temperature report
- Valve opening percentage report
- Window open detection
- Measured temperature offset
Installation
The quick start guide has both German and English sections. The instruction are written in an easy to understand manner and contained illustrations exactly wherever I expected them.
These are the steps I followed to set up the Spirit and include it in my HomeSeer Z-Wave network:
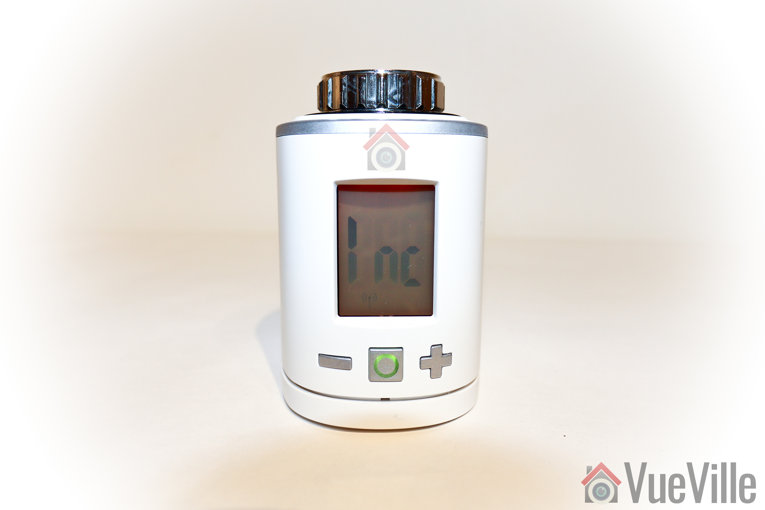
- I inserted the provided batteries and replace the battery cover. This brought the Spirit to life, its Boost button started blinking green and the LCD displayed “Inc” indicating that it is ready to be included into a Z-Wave network. This also meant that it is not currently paired.

- I put HomeSeer into the “Add a node” mode and pressed the boost button. A countdown started from 120 seconds and after 5 seconds, the Spirit had successfully completed inclusion and displayed its node number. On 4 of the 5 Spirit thermostats I installed in my house, only 1 had issues pairing. From trial and error I discovered that doing a factory reset (insert batteries while holding down the + and – buttons) and holding the thermostat within inches of the Z-Wave hub during inclusion resolved the pairing issues.

- It was then ready to be installed on the radiator valve, and the LCD display read “Ins” with a mechanical spanner icon.

- I set the old manual Honeywell thermostat on the radiator to the full open position, and unscrewed it.

- I then installed the Spirit onto the radiator valve and pressed the boost button which was blinking green. I didn’t need to use the provided adaptors because the Honeywell had a M30 x 1.5mm thread just like the Spirit. Adaptors are not needed for Heimeier, Junkers Landy + Gyr, MNG, Honeywell, and Braukmann valves. Anything else and you probably need the adaptors.
- The thermostat completed the mechanical installation automatically and showed the default heating set-point of 22 degrees C. I increased the set point to 23 degrees C from the Homeseer control panel and the thermostat responded immediately.

Performance
The installation process
I should really split this into two sections as I had very different experiences with the Vera Plus and Homeseer HS3 using an Everspring SA-413 USB Z-Wave stick. As I was still in the process of migrating from the Vera Plus to HS3, I first tried adding them to the Vera Plus and of the 5, only 1 managed to pair properly. The others either didn’t pair at all, or paired but wouldn’t respond reliably to heating set-point changes. After many hours of factory resets and unpairing and pairing I got all of them to work properly with the Vera Plus.
I then unpaired the thermostats from the Vera Plus, shut down the Vera Plus, reset all of the thermostats and added them to my Homeseer HS3 Z-Wave network. With the Homeseer, I could see that the thermostats paired successfully as long as they were within a few inches of the Z-Wave USB stick. If it was more than a feet away, it would still pair but in non-secure mode. So the secure mode negotiation was the critical bit. At least with the HS3 I could see the pairing status messages and see what was going on, with the Vera I was just left guessing.

On the topic of security, the Spirit supports the latest Z-Wave S2 security standard. Any new device released after April 2, 2017 must support S2 security. However the HS3 Z-Wave plugin with S2 support is still in beta so I haven’t installed it yet.
Wireless range
My HS3 laptop and Z-Wave USB stick are at one end of the house, but even the furthest Spirit thermostat has no issues communicating with HS3. A have a generous amount of mains powered Z-Wave smart plugs, so my Z-Wave network is quite strong anyway since they all act as signal repeaters.
Responsiveness and reliability
I have been using the 5 thermostats in my home for 3 months now and once I moved them over to Homeseer, they have not skipped a beat. They now form the core of my advanced automatic multi-zone heating system running on HomeSeer HS3. I am glad I moved to Homeseer because as capable as PLEG was on the Vera, creating advanced scenes and events on the HS3 was much easier and quicker. No scripting required either!
How quiet is it?
The Spirit is not super-quiet when the motor is in operation opening or closing the valve. Nor is it loud. I’d say it is noticeable up to a few feet away from the radiator.
The thermostats are super-responsive and I have had no issues with reliability at all.
Configuring parameters
My radiators are a bit old so have the valves at the bottom and this meant that the Spirit thermostats had to be positioned upside down (according to the manual, this is not uncommon in British homes). So I set parameter 1 to value 1 and the display inverted itself as expected. To conserve battery life, I also reduced the LCD timeout to 5 seconds (the lowest).
I was disappointed that direct valve control is not possible unless a command in the basic command class (0xFE) is sent to the thermostat. Neither the Vera Plus nor Homeseer HS3 can do this, so I had to implement a workaround to get the valves to open 100% or close 100% on demand.
Battery life
In the 3 months I have had the thermostats, these are the battery stats: the lowest battery level is 80% and the highest is 100%. I am not sure how accurate these self-reported battery lebels are, so we will just have to wait and see.
Alternatives
- Danfoss LC-13 Living Connect,
- Fibaro Smart Thermostat,
- Popp Heating Thermostat,
- Eurotronic StellaZ,
- Eurotronic Comet



Thanks for the great review.
For new readers, to exclude a previous node (if like me you bought your trv from ebay) you need to reinsert the battery while holding the boost button (round one), then press it once and display will read “def” for default.
Ie a different form of reset to the one listed above (which resets pairing mode).
Once I did this (full manual is on zwave website), I was able to pair quickly with smartthings and use a DH from the community.
You’re welcome and thanks for the tip, I’m sure our readers will appreciate it!
I have since this week a Spirit thermostate and it is included in HS3. Was no problem.
Now I like to make an event to use the bathroom every morning with a nice temperature.
I wrote the event with time for a higher degrees at 8 oçlock. But nothing happen after a night. Also by hand it cost me several time to change the temperature from 13 to 21 C. Do you know this problem and how did you solve it?
How can I invert the LCD display in HS3?
Hi, before creating an event to do something at a particular time, test whether the thermostat reacts to your controls in realtime first. It could just be that the thermostat is too far from the Z-Wave controller. If it changes the temperature setpoint when you adjust it in HS3 in realtime, then you know the issue is with your events not the thermostat itself. Inverting the LCD display involves sending a specific command to the thermostat using the Z-Wave command section under the thermostat device properties – I don’t have a tutorial for it yet sorry.
I have since this week a Spirit thermostate and it is included in HS3. Was no problem.
Now I like to make an event to use the bathroom every morning with a nice temperature.
I wrote the event with time for a higher degrees at 8 oçlock. But nothing happen after a night. Also by hand it cost me several times to change the temperature from 13 to 21 C. Do you know this problem and how did you solve it?
And how can you invert the LCD in HS3?
Nice and helpfull info.
I have also an Eurotronic htermostate included in Homeseer 3. How do know all lines in HS3 what the do for making an event?
Can you tell me where I find an explanation off the lines in HS3?
Wim