If you are thinking of setting up a Zigbee network for your Home Assistant installation, the USB dongle (co-ordinator in Zigbee-speak) you choose will have a significant impact on how reliable your network ends up being. Which in turn impacts how much time you spend trying to troubleshoot your smart home!
That’s why I recommend choosing your co-ordinator software first – Zigbee Home Automation (ZHA) or Zigbee2MQTT. Then pick a Zigbee dongle that is supported properly by your choice of co-ordinator software. Not all Zigbee USB dongles are supported by both.
If you are going with ZHA which is the default integration in Home Assistant, the Aeotec Zi-Stick is a new option from a smart home company that has been around for a long time. My Z-Wave network has always been powered by Aeotec – initially by the Z-Stick Gen 5 for many years, and now by the excellent Z-Stick Gen 7. The Zi-Stick is Thread-ready and so also supports Matter through a potential future firmware update.
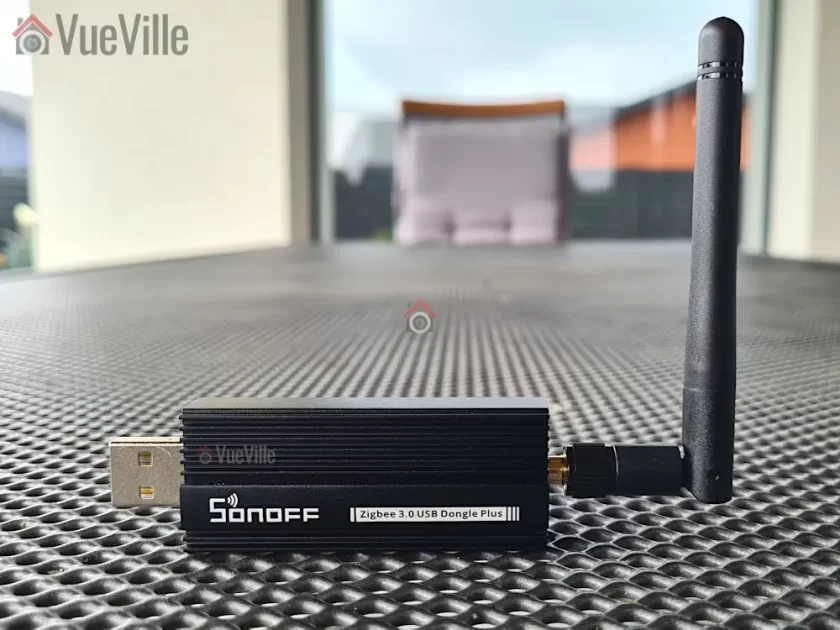
So let’s take a closer look at how the Aeotec Zi-Stick performs and how it compares to my current Zigbee USB dongle – the Sonoff Dongle-P.

A quick note: As an Amazon Associate I earn from qualifying purchases. This post contains affiliate link(s). An affiliate link means I may earn advertising or referral fees if you make a purchase through my link, at no extra cost to you.
Aeotec – who are they?
The Aeotec brand used to belong to Aeon Labs, a company that was founded in 2006 and based out of Silicon Valley. Aeotec is now headquartered in Hamburg, Germany. In 2018, they acquired the German automation brand Popp.
Zigbee Basics
If you’re new to the world of Zigbee like I am, here’s a primer on what you need to know.
Just like Z-Wave, Zigbee is also a mesh wireless protocol. This is one of the best things about Z-Wave that allowed me to create a strong reliable mesh network among all my Z-Wave devices. This is not possible with Wi-Fi or Ethernet where each device requires a direct connection to the router (although multiple WAPs can somewhat alleviate this).
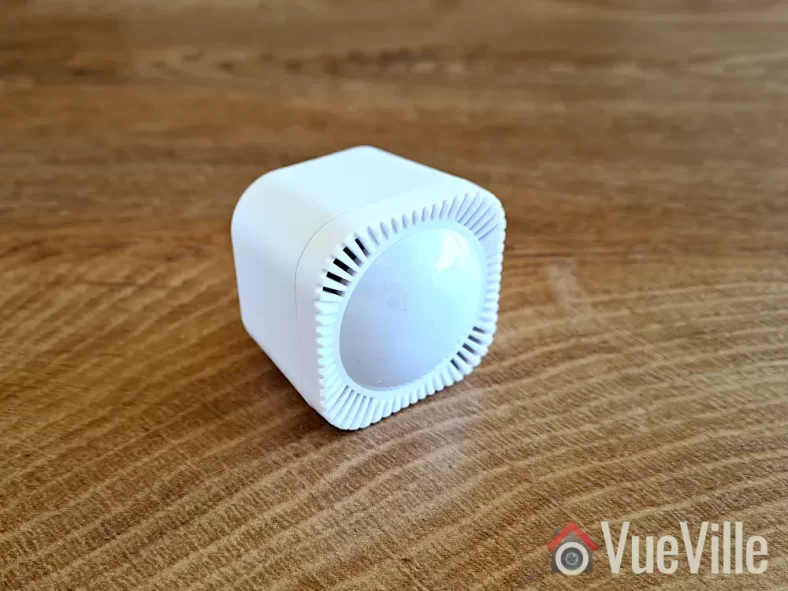
So what does this mean in practice? Suppose your Zigbee coordinator sits in the garage with the rest of your tech gear, like mine is. And at the other end of your home, you want to place a temperature and humidity sensor like the Sonoff SNZB-02.
With Wi-Fi, you would need to be within range of your Wi-Fi router or have a WAP nearby. With Zigbee again the ideal scenario is if the sensor can connect directly to the Zigbee coordinator. But if its not, the mesh network comes into play. Most mains powered Zigbee devices such as smart bulbs or smart relays are able to act as ‘routers’ by relaying signals between the coordinator and other Zigbee devices. Do note that being mains powered does not automatically make a Zigbee device a router!
So our battery powered sensor can connect to the nearest Zigbee router and thus communicate with the coordinator. Thus our sensor here is an ‘end device’. Such battery powered Zigbee devices are usually not able to act as routers.
Now the biggest downside of Zigbee is that it uses the same frequency as 2.4 GHz Wi-Fi. This creates the potential for interference between your 2.4GHz band Wi-Fi network and your Zigbee network. I have learnt after much research (Metageek is an awesome resource) and quite a bit of fiddling that the best way to ensure your Zigbee and WiFi networks can coexist is by ensuring the specific frequencies (i.e. channels) they use do not overlap.
One thing to watch out is that the ‘channel’ numbering that WiFi and Zigbee use are similar and so you may think the frequencies won’t overlap. But they do! For example it may seem that Zigbee channel 11 uses the same frequency as Wi-Fi channel 11, but they don’t! In fact, Zigbee channel 11 overlaps Wi-Fi channel 1. The Metageek resource linked above explains it very well.
So my suggestion is:
- Put your WiFi access points on channel 1 (if you have more than one WAP, use 6 for the one that’s furthest from the Zigbee coordinator and 1 for the WAP that’s closest to the Zigbee coordinator).
- Put your Zigbee coordinator on channel 25 (or 20 if you are in the US).
This configuration ensures minimal overlap between your Wi-Fi network and the Zigbee network.
What’s in the Box
The Aeotec Zi-Stick box consists of the Zi-Stick USB dongle itself and a user manual.

Specifications
[table id=92 responsive=scroll /]
Taking a closer look at the Aeotec Zi-Stick
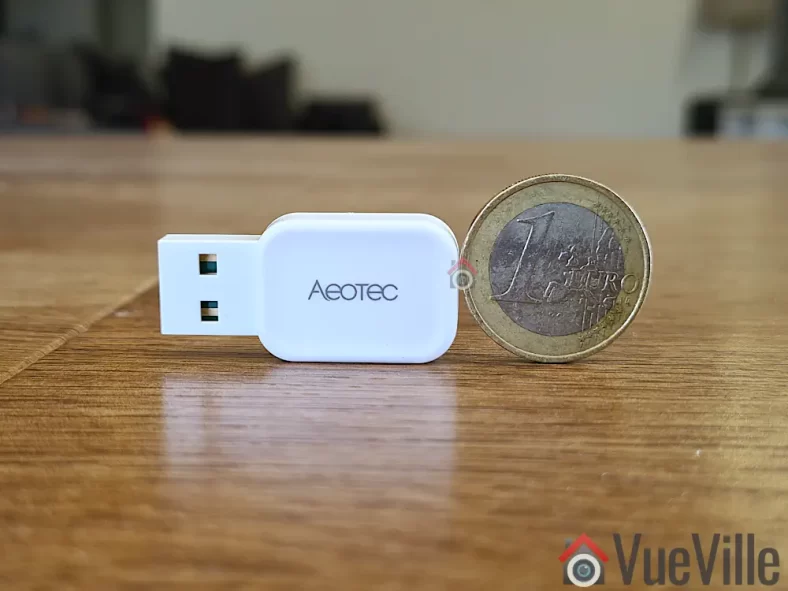
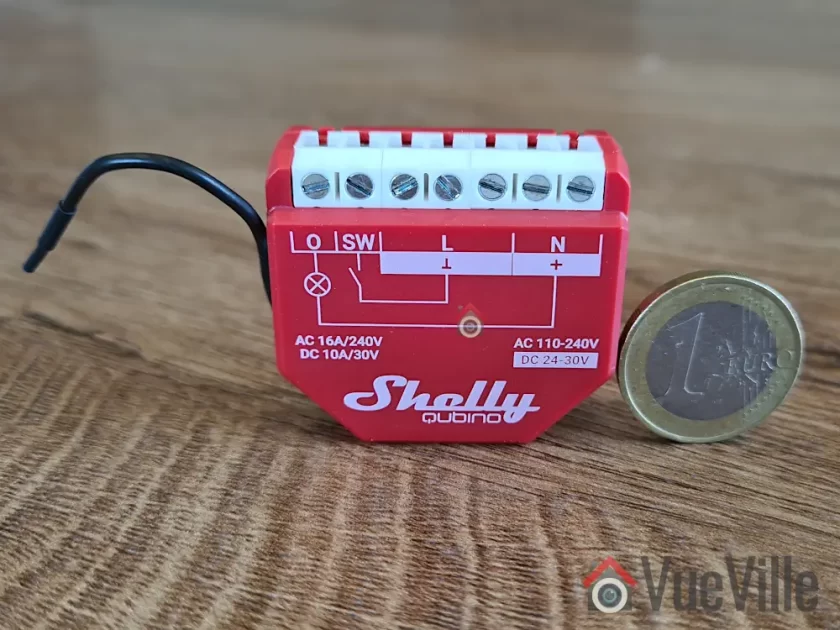
Just like the Gen7 Z-Wave Aeotec Z-Stick, the Zi-Stick is tiny. Compared to the Sonoff ZBDongle-P, it is less than half the size at at just 37 mm long and 17 mm wide.
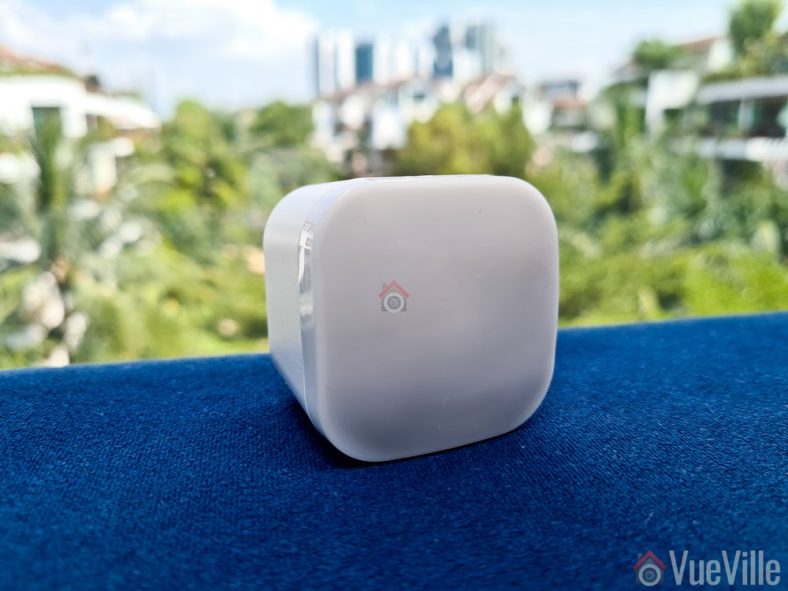
The body is an all-plastic affair but feels sufficiently strong and seems built to last. After all, it is going to remain plugged into your smart home controller for the whole of its working life.
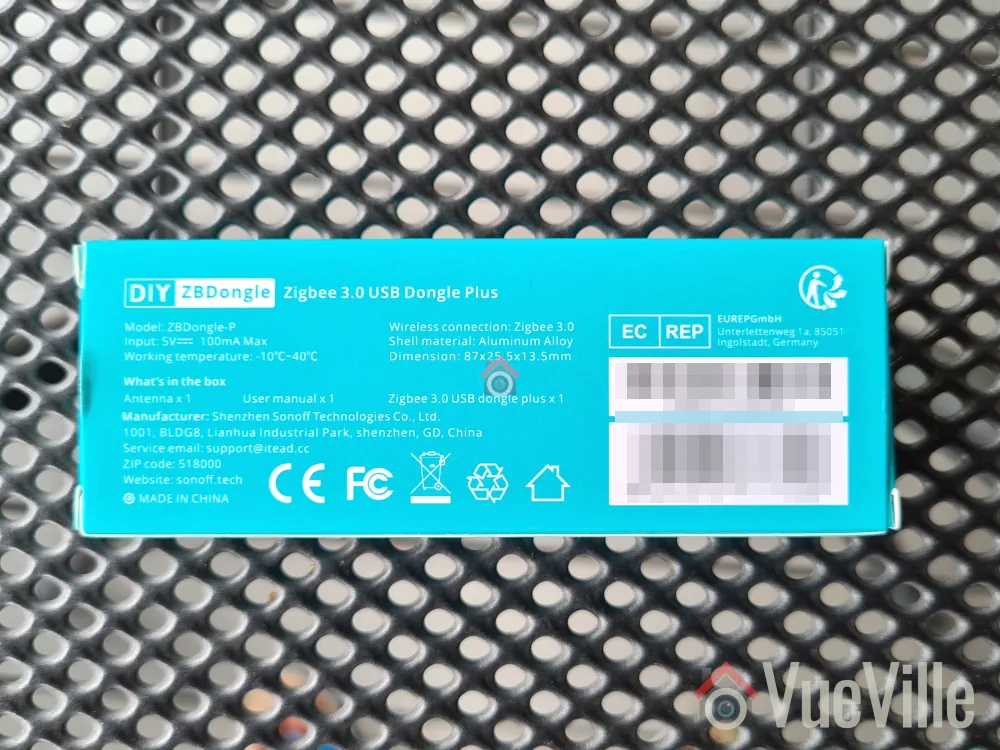
The front side simply sports the Aeotec logo whereas the rear side shows details such as the model number and applicable certifications.

The USB-A port should be plugged only into a shielded extension cable on a USB 2.0 port. USB 3.0 ports can cause interference with Zigbee networks, and is probably the root cause of many complaints about poor reliability when using Zigbee USB dongles.
Aeotec says this on their website: “Zi-Stick hardware is Thread ready and will be upgradeable via firmware update. With this future update, Zi-Stick will be able to control Thread Matter-based devices.”
Setting up the Aeotec Zi-Stick
Home Assistant offers 2 different integrations for Zigbee: the official Zigbee Home Automation (ZHA) built into HA, and the community integration called Zigbee2MQTT. I generally recommend Zigbee2MQTT because it has slightly wider device support and is generally quicker to add support for new devices as well. Unfortunately the Zi-Stick is officially supported only in ZHA, so that’s what we will be using for this review.
To briefly recap my HA setup, I have my primary HA server in the garage and a remote Raspberry Pi4 at the center of my single-floor home. The remote RPi4 runs ZWaveJS and Zigbee2MQTT as Docker containers, with an Aeotec Z-Stick for Z-Wave and Sonoff ZBDongle-P for Zigbee.
Since ZHA is part of HA, I decided to use the Aeotec Zi-Stick with the HA server in the garage. I plugged it into an extension cable off a free USB 2.0 port of the HA server (a NUC11i5 Mini-PC).
I followed the official Aeotec guide for setting up the Zi-Stick in ZHA but here are my notes:
- Plug in the device into your Home Assistant. Make sure you use a USB 2.0 port and a good quality extension cable. USB 3.0 ports cause interference and an extension cable minimises interference as well.
- Navigate to Settings > Devices & Services > Add Integration
- Type in “Zigbee Home Automation” and select ZHA from the list
- Next you will see the “Select a serial Port” screen. I selected /dev/ttyUSB0 – USB serial. If you have other USB dongles plugged in it might say USB1 instead of 0. Just select that instead.
- Next is “Network Formation”. I chose “Erase Network Settings and create a new network”. Wait for around 3 seconds and you should see a success message.
- Click Finish, and you should now see the ZHA integration in the list. If you click on the ZHA device list, you can then see the Zi-Stick’ and its HA’s device page.
To ensure a solid and reliable Zigbee network, it is advisable to change the Zigbee channel to one that doesn’t interfere with Wi-Fi in your home. I have learnt after much research (Metageek is an awesome resource) and quite a bit of fiddling that the best way to ensure your Zigbee and WiFi networks can coexist is by ensuring the specific frequencies (i.e. channels) they use do not overlap.
One thing to watch out is that the ‘channel’ numbering that WiFi and Zigbee use are similar and so you may think the frequencies won’t overlap. But they do! For example it may seem that Zigbee channel 11 uses the same frequency as Wi-Fi channel 11, but they don’t! In fact, Zigbee channel 11 overlaps Wi-Fi channel 1. The Metageek resource linked above explains it very well.
So my suggestion if your using only the Zi-Stick in your home:
- Put your WiFi access points on channel 1 (if you have more than one WAP, use 6 for the one that’s furthest from the Zigbee coordinator and 1 for the WAP that’s closest to the Zigbee coordinator).
- Put your Zigbee coordinator on channel 25 (or 20 if you are in the US).
This configuration ensures minimal overlap between your Wi-Fi network and the Zigbee network.
What if like me you already have another Zigbee network in the home? Then I recommend you put the Zi-Stick on Zigbee channel 20 instead of 25.
Zigbee Pairing using ZHA & Wireless Range
To test the Zi-Stick, I decided to pair it with their latest Pico Switches that I have also reviewed separately in detail. Head over to that review to read more about the pairing process.
Here’s a network map produced by ZHA that shows the link quality and the routes between each device:

One Pico switch was installed in a concrete wall right next to the Zi-Stick. So that would naturally be the router through which the second Pico switch finds a connection to the co-ordinator. So everything is as expected in the network map above.
The second Pico Switch is 3 concrete walls away from the co-ordinator, but it still managed to establish a direct connection (strength 74/32 up and down) which is quite impressive.
Verdict
Where to Buy

(* = affiliate link / image source: Amazon Associates Program)


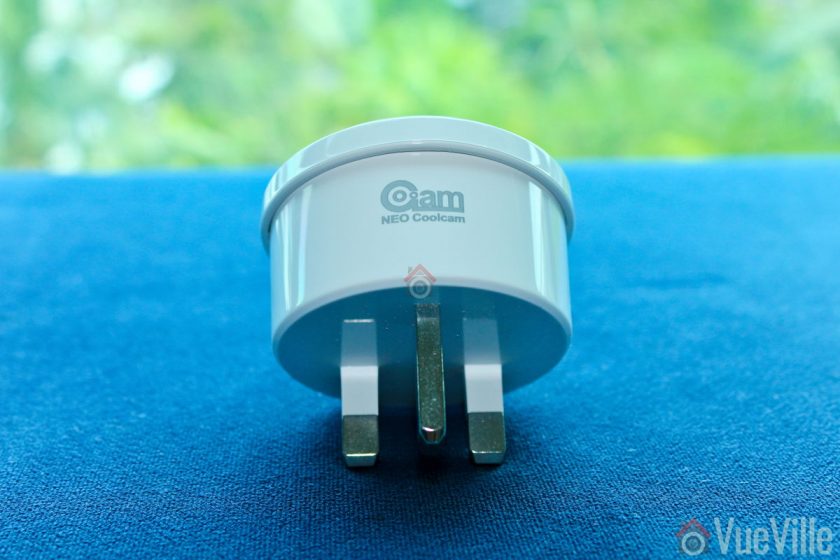
 Smart power plugs are perfect for turning dumb devices in your smart home into truly useful smart devices.
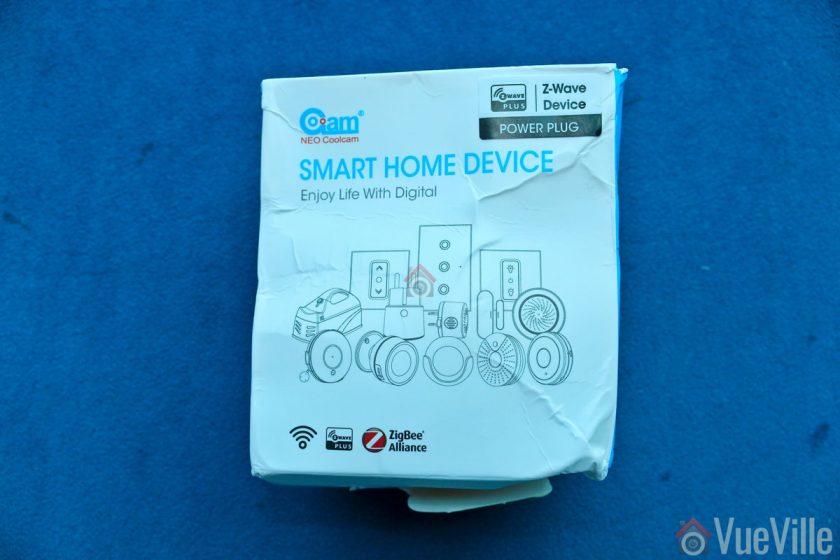
 The back of the box lists the main specifications of the sensor.
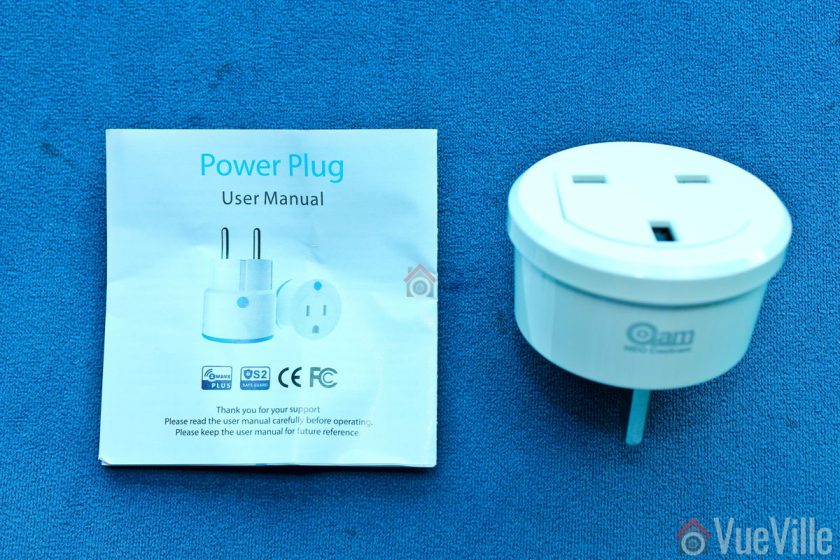 Opening the box, we find the following:
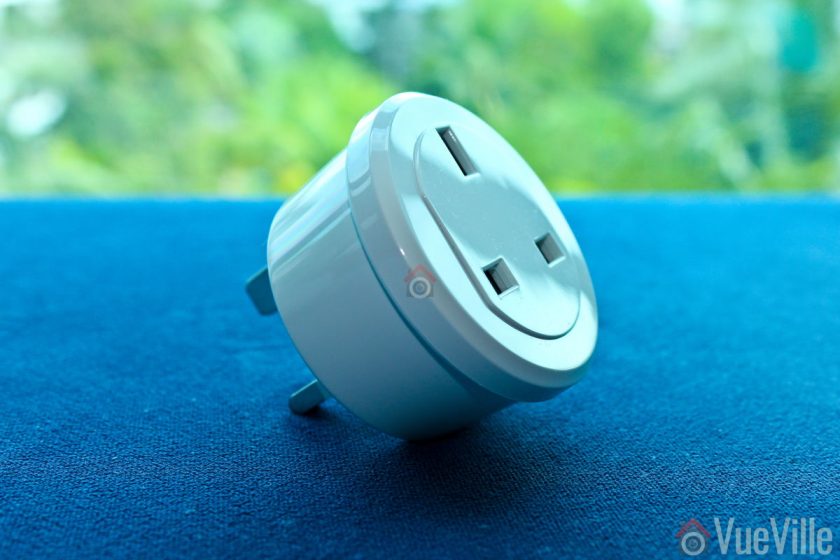

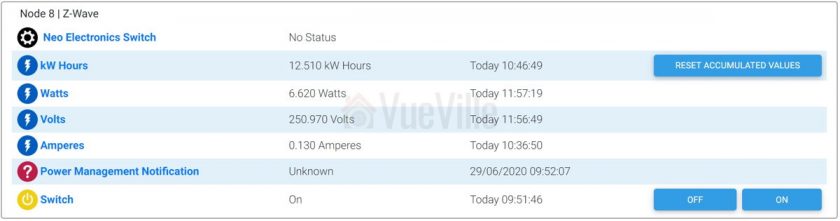 The first device is the parent device and the one where you configure settings such as Z-Wave parameters and polling intervals. Then we have the kW Hours device which stores cumulative energy usage. Then there are the usual Watts, Volts and Amperes devices which are used to calculate energy usage. The Power Management Notification device is next and this is where current overload warnings are shown. The switch has a maximum load current of 16A and of the load current exceeds this limit, the switch will automatically cut off, send a warning to this HS4 device and flash the red LED every 1 second. Finally you have the actual on/off switch control.